Chevy Express/Savana


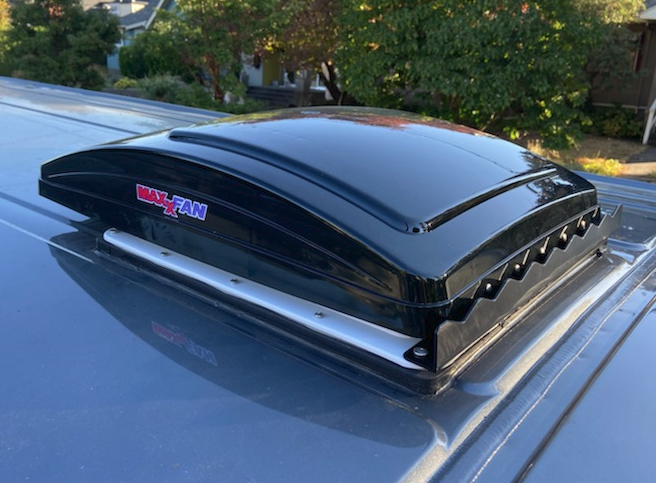
Pair with our Insulated Vent Fan Cover and Maxxfan Deluxe 7500K or 7000K Electric Lid Opening
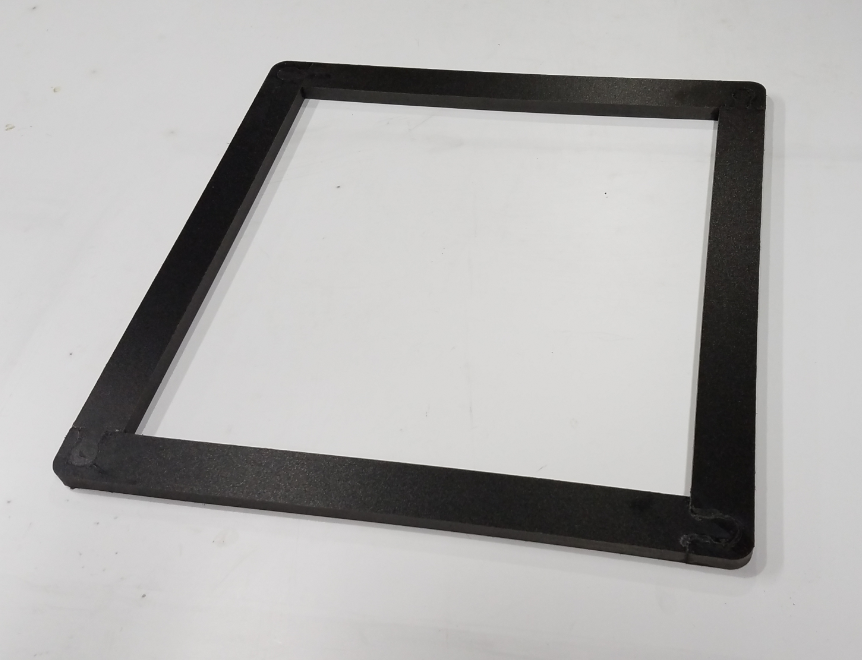
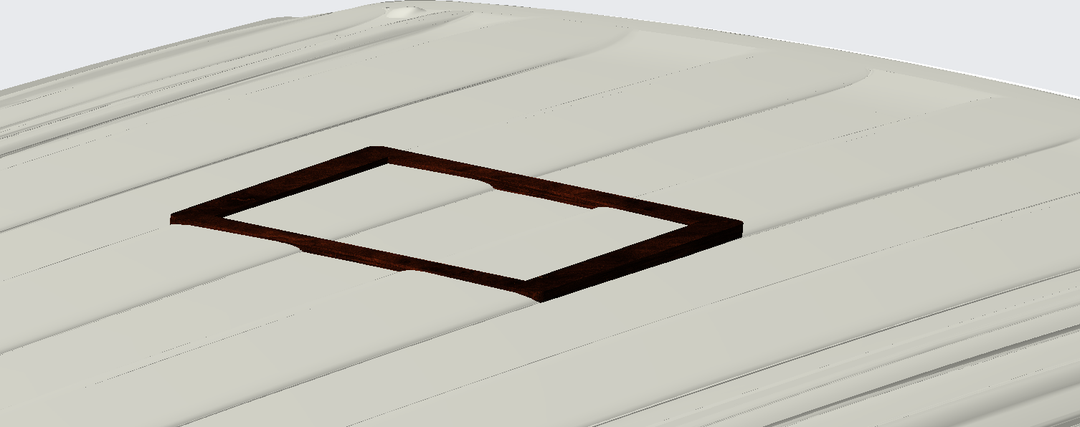
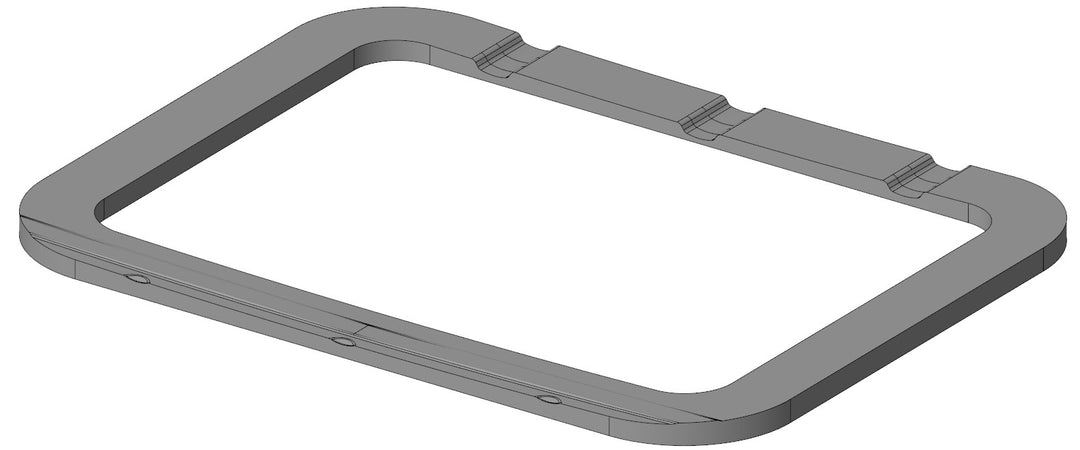
The framing strips are expanded PVC and bonded to the roof with a thick bead of Windoweld. They are more flexible than wood and plenty strong to support the vent and keep it from jiggling. We double them up when installing roof top air conditioners. They are essential if the span between the OEM roof beams is more than 18". They also provide a backing for the screws that hold up the vent interior bezel. They should be placed 1/4" away from the edge of the hole so the screws for the vent go into the strips. They are a generic size and will need to be cut to length. These strips are not contoured to the van corrugations.
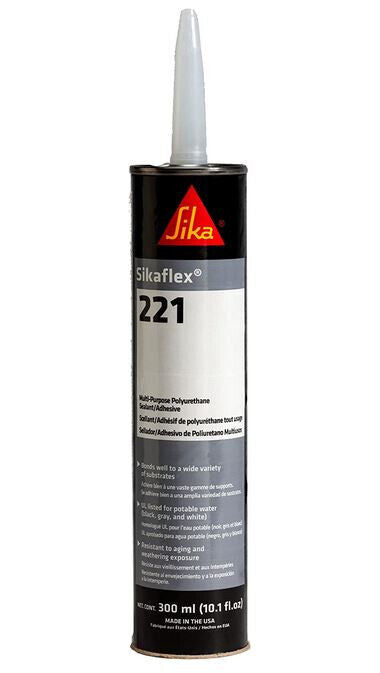
We recommend 3M Window-weld or Sikaflex 221 adhesive for adhering the adapter to the roof. Locate and cut the 14 x 14 hole. You can use the adapter as a guide to mark the hole. Stay clear of roof supports, obviously. Make a tape line 1/4" beyond the adapter perimeter. De-gloss the area with a Scotch- brite pad. No need to scuff. Just dull the paint. Clean with isopropyl alcohol and let dry thoroughly. Blow dryer if it's wet and/or cold out. Apply three 1/8" beads of the Window-weld on the face of the adapter. Then press the adapter down onto the roof until the adhesive oozes out the sides. It's not necessary to clamp. If you do, use a lot of lightly set clamps and spread out the clamp force over the whole surface area. Using the adhesive that oozes out, make a fillet around the adapter with a double gloved finger. Pull the tape within 15 minutes. Cure is fast on outside. Let cure overnight and then proceed with the fan install. We recommend using butyl tape for the fan install. Cover the fan flange with 1 1/8" wide tape. Place onto of adapter and press down. Then drill pilot holes through the adapter and into the van roof. If the screws are going to go into a roof support beam then drill a clearance hole in the beam. You only want the screw to engage the adapter and outer skin. Use a step drill to keep from plunging through the skin. You may need longer screws. Tighten them very lightly against the fan flange. Some butyl will ooze out which you can trim off. Coat the fan flange, adapter and onto the roof about 1/2" with Dicor self leveling sealant or brush on bed-liner or Flexseal from the TV guy works well. Some sealants will melt the fan plastic so you might try it on a portion of the interior bezel first. You'll cut a lot of that piece off. Good idea to check the integrity and reapply the sealant every so often.
The option with butyl tape includes 64" of butyl tape.
If you have questions about this product you can call Hein at 541-49O-5O98
Van owner and/or installer assumes all risk associated with roof top mounted items and/or components. Van owner and/or installer recognizes and agrees that this product, and each of its component parts, is sold “as is” and that seller makes no representation or warranty of merchantability that the product is fit for any particular purpose.


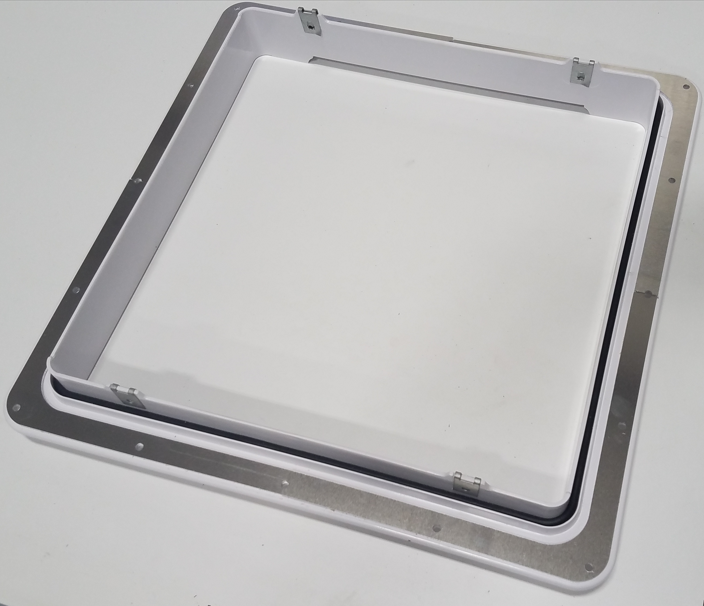
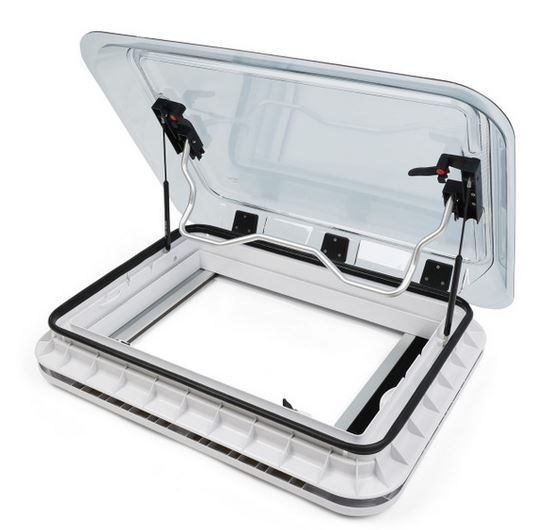
Patent pending adapter matches the contour of the OEM roof so an Artic Tern Skylight mounts to a flat surface. Perimeter of adapter matches vent cover for best performance and appearance. Prevents distorting the roof sheet metal or vent flange. Can be used as an aid for locating the fan. Adapters are CNC machined out of UV and fire resistant expanded PVC. The vent mounts to the outside adapter. The outside adapter will fit anywhere along the center cargo area of the roof. We recommend 3M Window-weld or Sikaflex 221 adhesive for adhering the adapter to the roof. Additionally, we recommend that you seal the adapter and roof light after it is installed with a membrane sealant such as Dicor.
If you are ordering this for a Sprinter we can produce them for the NCV3 or VS30, 2007 to present.
The order will include an interior support frame.
Outside dimensions are 23 1/2" x 33"
Inside opening dimensions are 19.75" x 27.6"
Artic Tern Skylight is not included.
Photo shown is on a Promaster.
When purchasing an adapter for a van please include a note indicating where you want to place the vent so we can produce the appropriate geometry to match the roof in that location. You are also welcome to send a photo to 541 49O 5O98. Please include your name if sending photo.
If ordering for a Sprinter we commonly ask for this measurement and information about the van:
1) Please take a measurement from the center of the large plug on the rear of the van to the back edge of the hole you will cut. Photo of the plug is below.
2) Please let us know which Wheel Base you have, 144 WB, 170 Regular or 170 Extended. The RTX opening is 15 1/2" long x 14 1/8" wide.
DISCLAIMER: Van owner and/or installer assumes all risk associated with roof top mounted items and/or components. Van owner and/or installer recognizes and agrees that this product, and each of its component parts, is sold “as is” and that seller makes no representation or warranty of merchantability that the product is fit for any particular purpose.


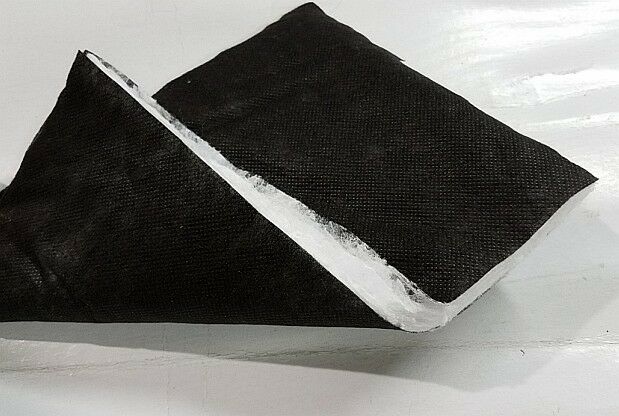
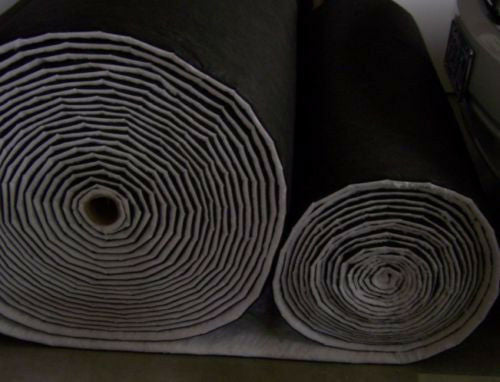
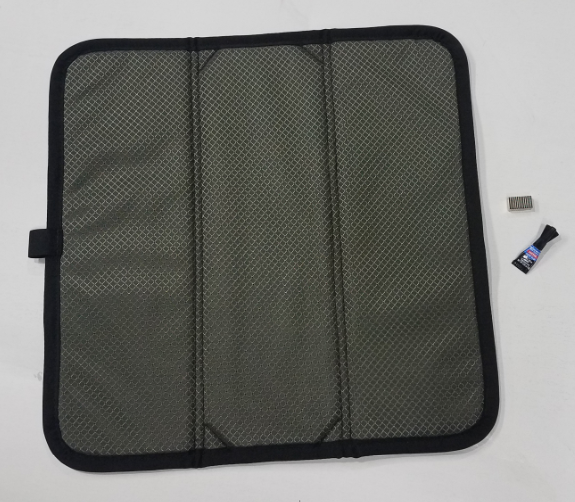
Insulate RV vent cover attached with magnets. Ripstop nylon facing with insulated core. Sewn in magnets keep cover firmly attached to interior bezel of the vent. Magnets and superglue included.
This fits the 14 x 14" Maxxair Fans.
MAGNET WARNING
Neodymium magnets are strong and can pinch skin. They may interfere with medical devices.
DO NOT LET CHILDREN PLAY WITH MAGNETS.
The magnets are brittle and can break or chip easily. Sliding magnets off the stack works best.
Broken magnets can still be used but we also include 2 extra magnets.
Keep magnets away from ferrous metals or they will jump to it.
Installation instructions:
1. Remove vent bezel by removing 4 screws holding it to ceiling.
2. Place vent cover on flat work surface making sure side labeled UP is visible and sewn on tab will be facing forward when back in vehicle.
This is very Important due to magnet polarity.
3. Place and align vent bezel on top of cover.
4. Distribute 12 magnets on back of bezel flange. The 4 round magnets are placed in the middle 2 spots on each side. They will snap to the locations of the magnets in the cover. See listing photo for location of magnets.
5. Make sure the cover stays aligned with the bezel.
6. Pick up each magnet and place a drop of glue on the bezel.
Then let magnet find it's place again. Do this for each of the 12 magnets.
7. Let glue set completely. Takes a few minutes.
8. Re-attach bezel to ceiling with screws removed in step 1.
9. Cover will now snap onto it and be held by magnets.
10. Front panel with tab can be folded over to allow partial 1/3 opening.
Please call Hein for assistance. 541-49O-5O98


These are strips that help hold down the vent flange and more equally distribute the clamping force of the screws. Made from .090 thick aluminum and unpainted. Recommend covering screws and plates with self leveling sealant.
Strips fit the Maxxair Deluxe Fan 7500K, 7000K, 6200K and 5100K.
If you have questions about this product you can call Hein at 541-49O-5O98
Van owner and/or installer assumes all risk associated with roof top mounted items and/or components. Van owner and/or installer recognizes and agrees that this product, and each of its component parts, is sold “as is” and that seller makes no representation or warranty of merchantability that the product is fit for any particular purpose.


DISCLAIMER: Owner and/or installer assumes all risk associated with roof top mounted items and/or components. Owner and/or installer recognizes and agrees that this product, and each of its component parts, is sold as is and that seller makes no representation or warranty of merchantability that the product is fit for any particular purpose.


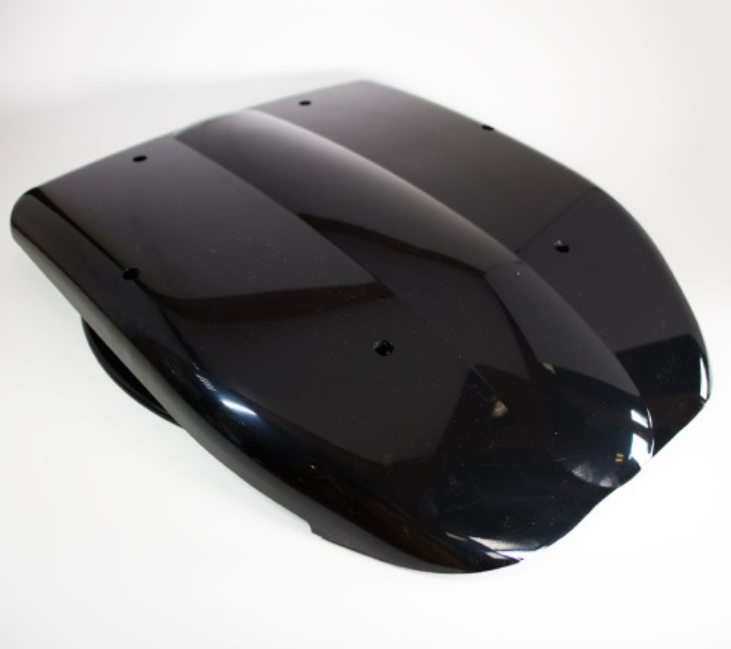
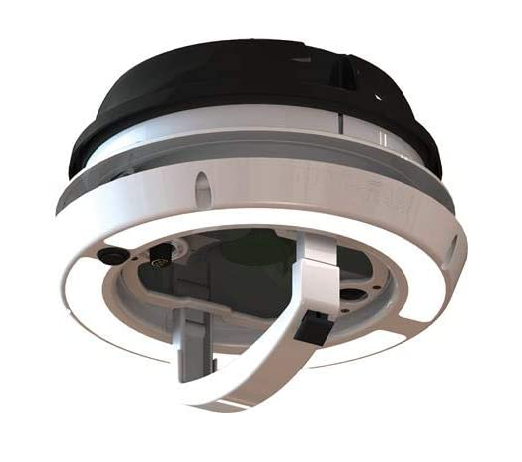
Lemans model 02-220 motorized vent with V12 louvered interior closure 35-2540 from G & C systems in the Netherlands. Low noise 52DB(A) fan is great for vans. 12VDC 7A (80w) at highest speed of 2600rpm creates air flow of 500 ft3/min. Mounting flange is ABS and cowl is PA6 nylon. 9.125" ID hole required in roof. Flange is 12.28" OD. Mounting screws are not included. They are supplied with our adapter sold separately.
Interior closure can be either manually or electrically closed. These vents are different from typical RV vents in that the air closure is on inside. Unique design of fan surround and cowl keeps moisture out. Interior closure is 11.41" diameter and 3/4" thick.
You will need to purchase an on/off reversing switch that will be mounted separately, it also has a speed control. This is also listed separately in the drop down menu.
These vents do not include a plenum to bridge the gap (space) between inside of roof and top of ceiling panel. AC foam seal can be used to do this.
Foam seal: https://amzn.to/3DKwPJb
Weight is 4lbs 7oz.
The noise level of the fan on this unit will be a little louder than the maxxair fan.
We produce patent pending mounting adapters to fit contour of van roof. They are not included unless you select it with adapter. Please make note of van make, year and model in notes at purchase. We will contact you to verify position. Highly recommended to use our adapter to mount this vent.
Please call Hein 541 49O 5O98 if you have any questions about this product.
Van owner and/or installer assumes all risk associated with roof top mounted items and/or components. Van owner and/or installer recognizes and agrees that this product, and each of its component parts, is sold ?as is? and that seller makes no representation or warranty of merchantability that the product is fit for any particular purpose.


DISCLAIMER: Van owner and/or installer assumes all risk associated with roof top mounted items and/or components. Van owner and/or installer recognizes and agrees that this product, and each of its component parts, is sold “as is” and that seller makes no representation or warranty of merchantability that the product is fit for any particular purpose.


Pair with our Insulated Vent Fan Cover and Maxxair Mini Vent Non Powered
This fits a 14" x 14" opening. The adapters in the listing are centered on the roof line. If you need an offset adapter please fill out our form.
Click here for our custom adapter inquiry form.
Patent Pending adapter matches the contour of the OEM roof so a standard RV style vent mounts to a flat surface. Prevents distorting the roof sheet metal or vent flange and can be used as an aid for locating the fan. They are CNC machined out of UV and fire resistant expanded PVC. The fan mounts to the outside adapter. Fan adapters works with the Maxxair Mini Vent Non Powered Fan.
We make adapters to fit air conditioners and adapters for offset locations. Please contact us so we can verify size and location.
Roof Vent Adapter Install procedure: We recommend 3m Window-weld or Sikaflex 221 adhesive. Locate and cut the 14 x 14 hole. You can use the adapter as a guide to mark the hole. Stay clear of roof supports, obviously. Make a tape line 1/4" beyond the adapter perimeter. De-gloss the area with a Scotch- brite pad. No need to scuff. Just dull the paint. Clean with isopropyl alcohol and let dry thoroughly. Blow dryer if it's wet and/or cold out. Apply three 1/8" beads of the Window-weld on the face of the adapter. Then press the adapter down onto the roof until the adhesive oozes out the sides. It's not necessary to clamp. If you do, use a lot of lightly set clamps and spread out the clamp force over the whole surface area. Using the adhesive that oozes out, make a fillet around the adapter with a double gloved finger. Pull the tape within 15 minutes. Cure is fast on outside. Let cure overnight and then proceed with the fan install. We recommend using butyl tape for the fan install. Cover the fan flange with 1 1/8" wide tape. Place onto of adapter and press down. Then drill pilot holes through the adapter and into the van roof. If the screws are going to go into a roof support beam then drill a clearance hole in the beam. You only want the screw to engage the adapter and outer skin. Use a step drill to keep from plunging through the skin. You may need longer screws. Tighten them very lightly against the fan flange. Some butyl will ooze out which you can trim off. Coat the fan flange adapter and onto the roof about 1/2" with brush on bed-liner or Flexseal from the TV guy works well. Some sealants will melt the fan plastic so you might try it on a portion of the interior bezel first. You'll cut a lot of that piece off. Good idea to check the integrity and reapply the sealant every so often. Dicor self leveling sealant also works but looks a little messy.
If you have questions about this product you can call Hein at 541-49O-5O98
Disclaimer
Van owner and/or installer assumes all risk associated with roof top mounted items and/or components. Van owner and/or installer recognizes and agrees that this product, and each of its component parts, is sold “as is” and that seller makes no representation or warranty of merchantability that the product is fit for any particular purpose.


The framing strips are expanded PVC and bonded to the interior roof with a thick bead of Windo weld. They are more flexible than wood and plenty strong to support the AC and keep it from jiggling. We double them up when installing roof top air conditioners. They are essential if the span between the OEM roof beams is more than 18".
Van owner and/or installer assumes all risk associated with roof top mounted items and/or components. Van owner and/or installer recognizes and agrees that this product, and each of its component parts, is sold ?as is? and that seller makes no representation or warranty of merchantability that the product is fit for any particular purpose.