Sprinter Van Conversion Products
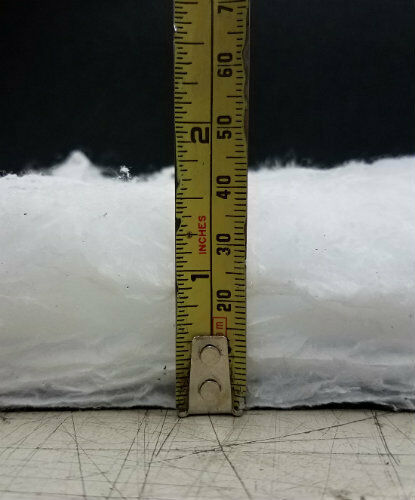
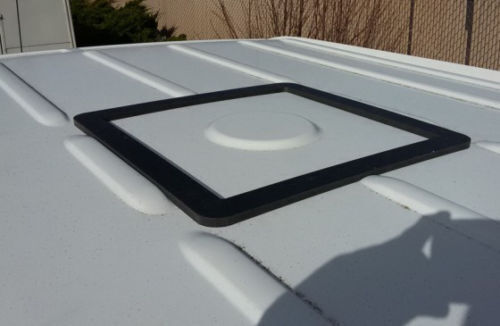
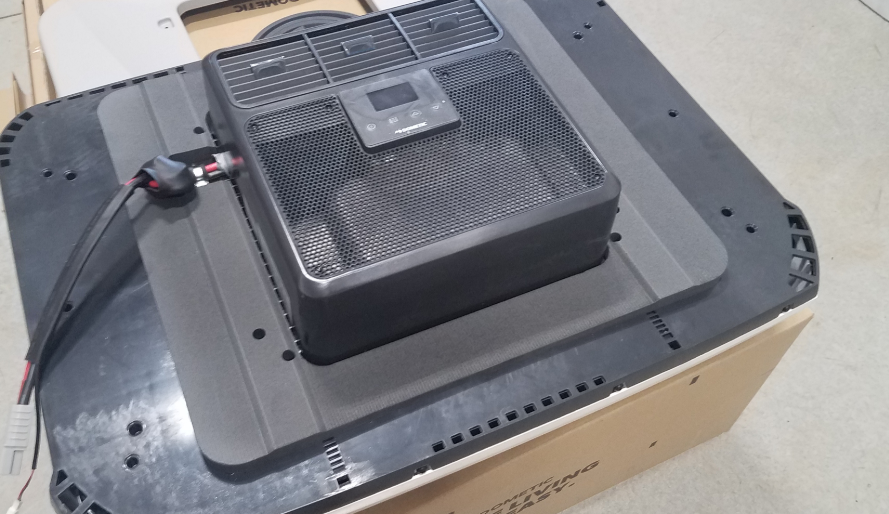
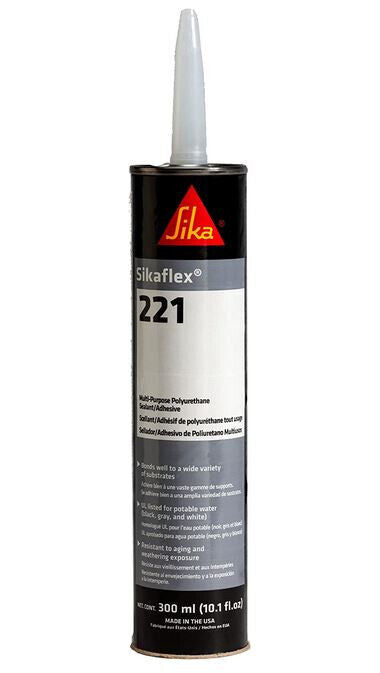
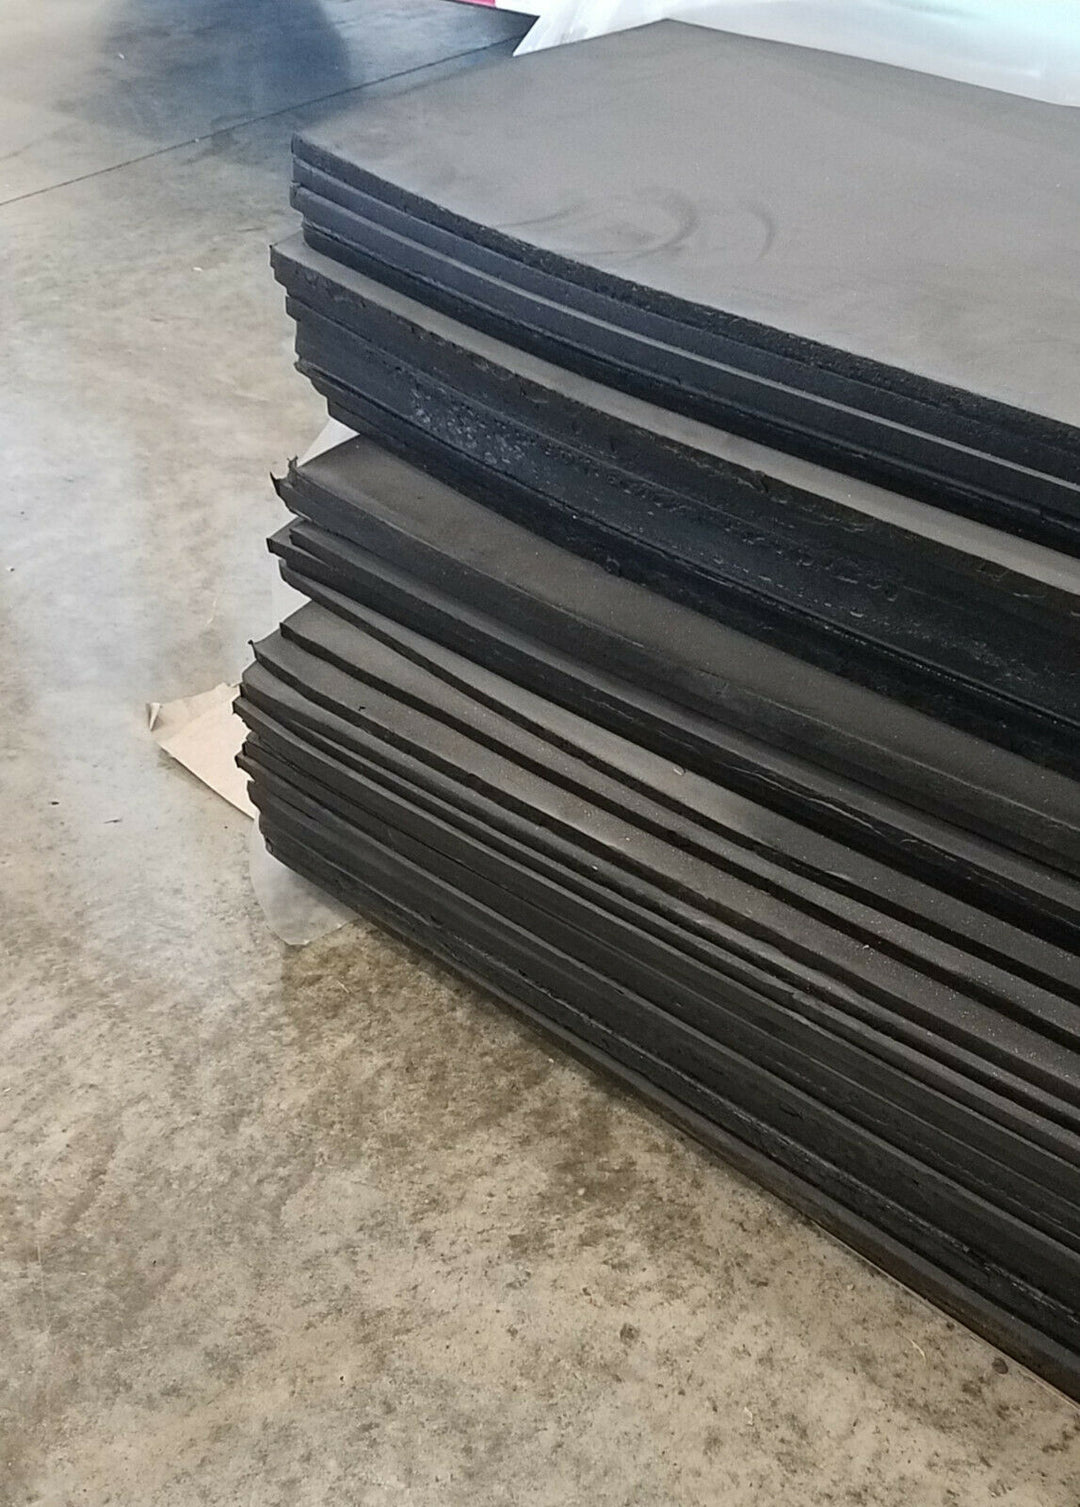
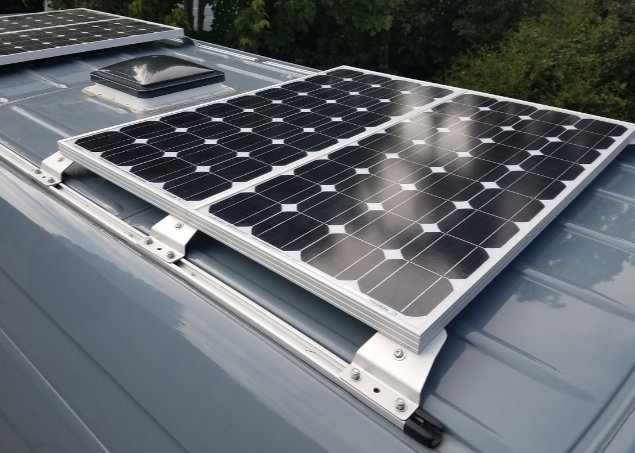
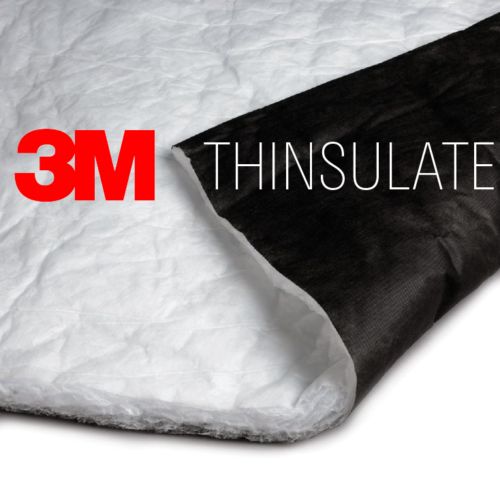
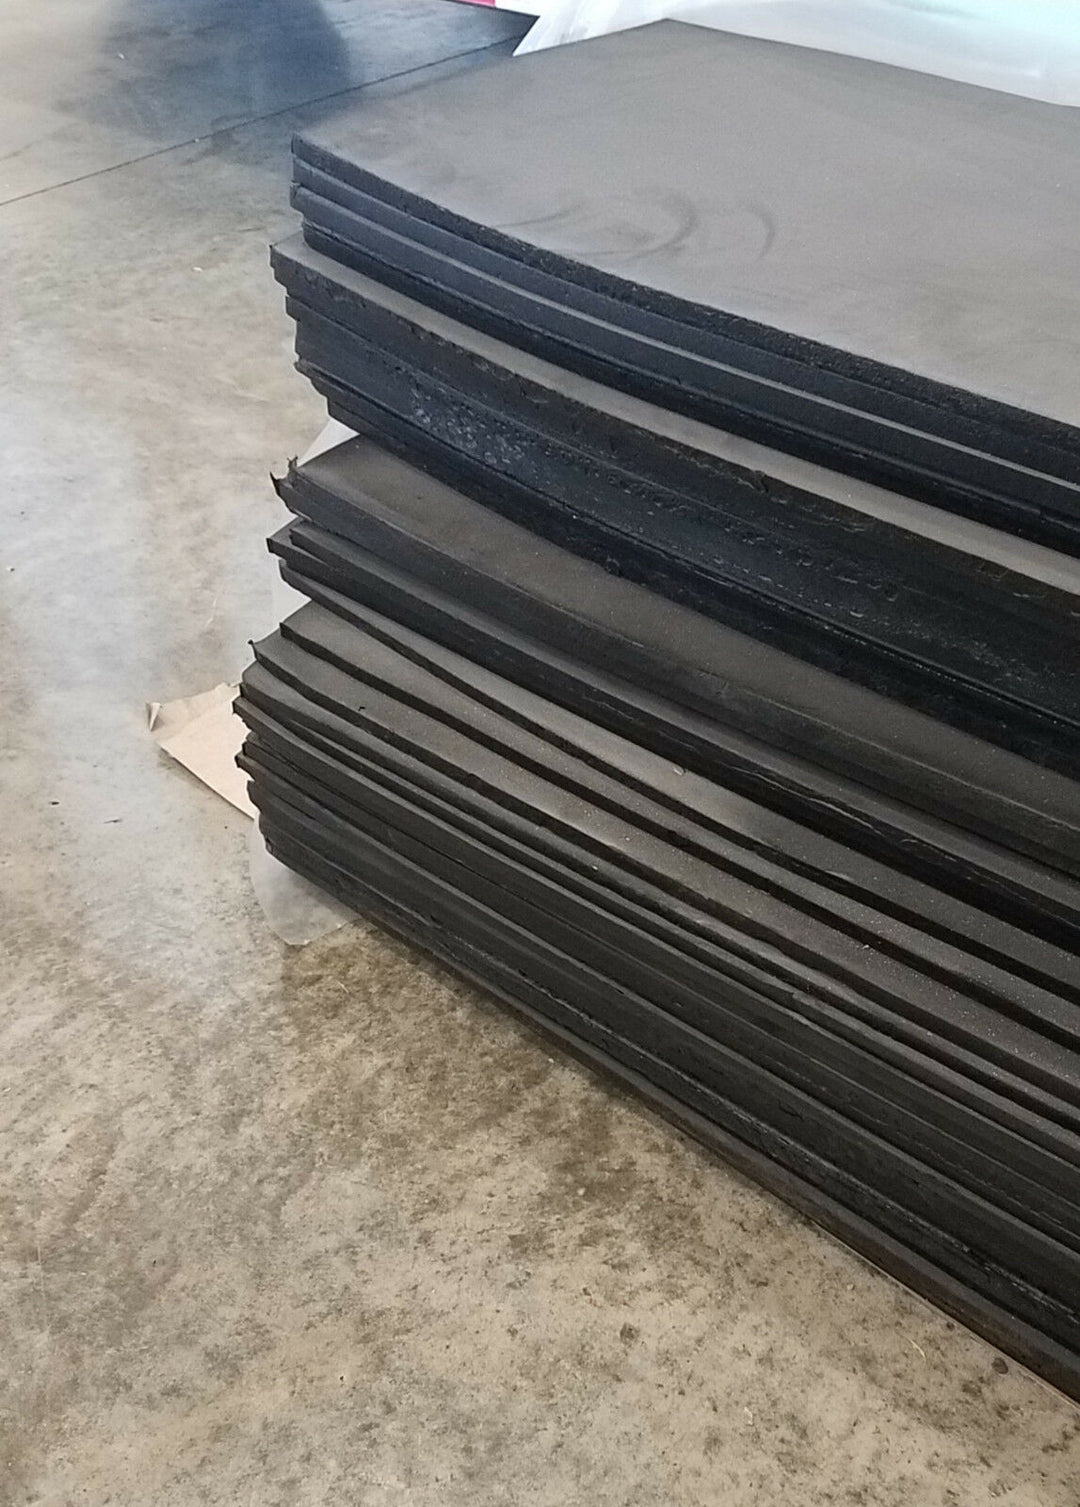
Convert your Sprinter van with DIYvan’s high quality & affordable products – Thinsulate insulation, ultra-low profile roof racks, roof vent & AC adapters and flooring solutions. Perfect for van conversions that prioritize comfort, efficiency, and adventure. Free shipping on most products in the US.
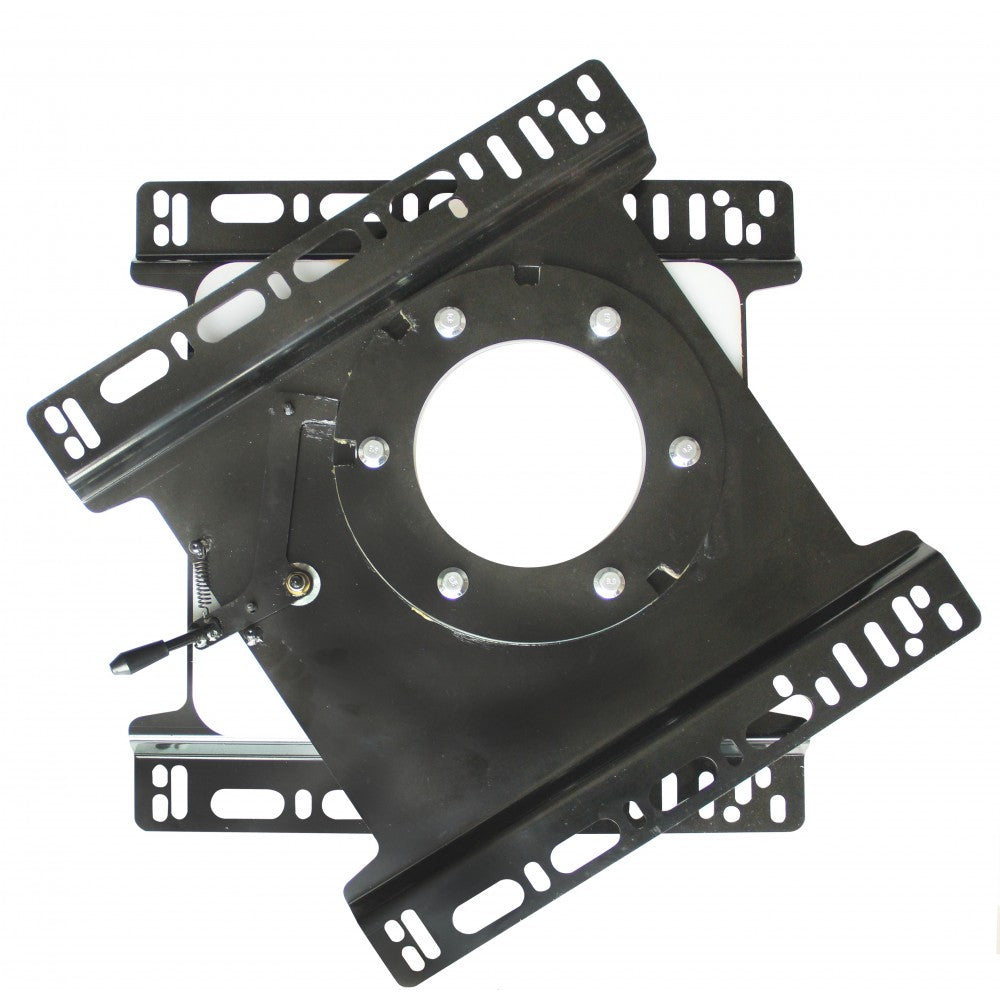
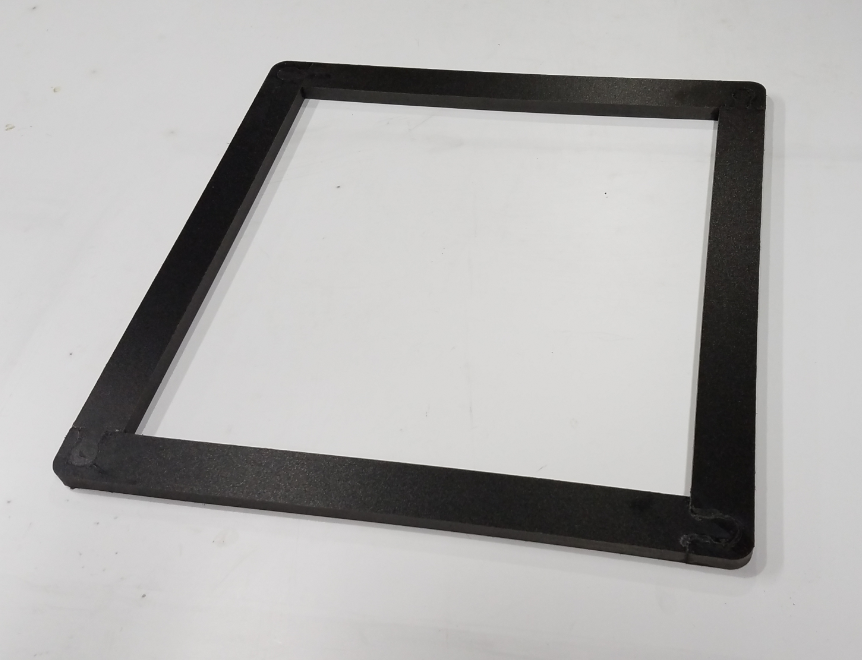
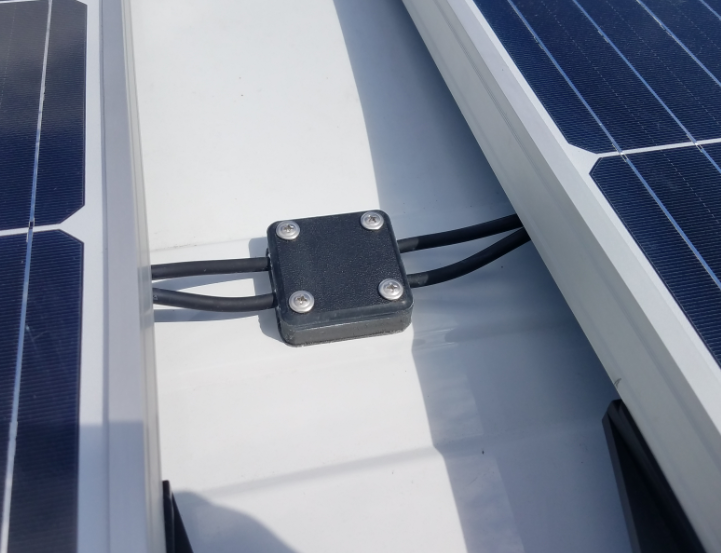
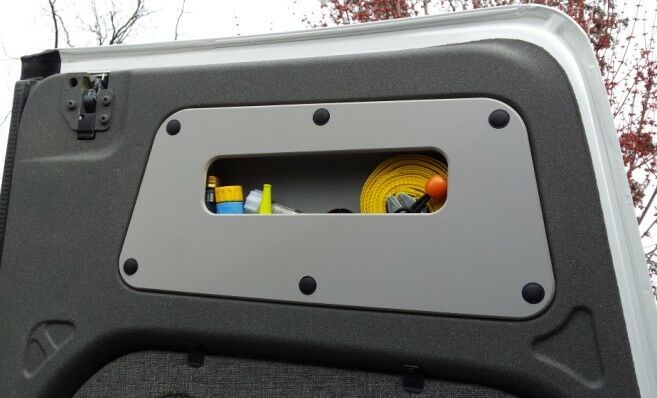
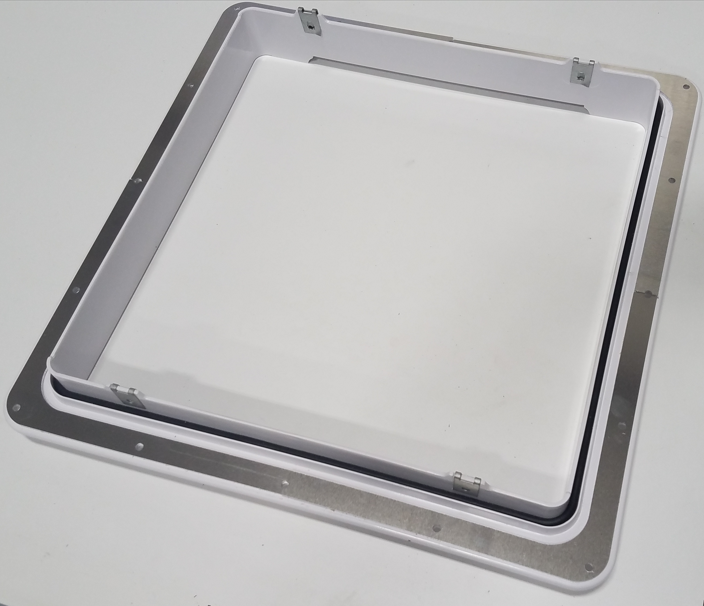
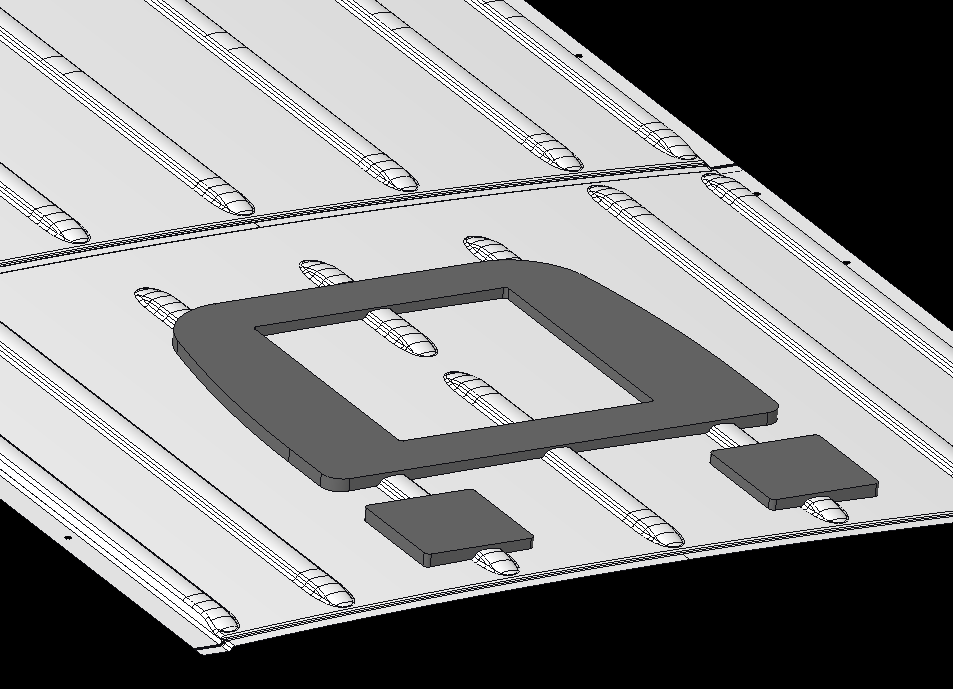
DIYvan is there for every step of your Do It Yourself Sprinter Van Conversion with experienced advice and our full Impact Products line including 3M Thinsulate, 80/20 cross bars, solar mounting brackets, storage solutions and roof vent adapters. DIYvan is dedicated to helping DIY and professional up-fitters with their van projects. It is our pleasure to share our engineering and fabrication knowledge and experience to help you complete your build and enjoy your van in comfort, safety and efficient style.