AC Adapters
Van owner and/or installer assumes all risk associated with roof top mounted items and/or components. Van owner and/or installer recognizes and agrees that this product, and each of its component parts, is sold “as is” and that seller makes no representation or warranty of merchantability that the product is fit for any particular purpose.
Van owner and/or installer assumes all risk associated with roof top mounted items and/or components. Van owner and/or installer recognizes and agrees that this product, and each of its component parts, is sold ?as is? and that seller makes no representation or warranty of merchantability that the product is fit for any particular purpose.
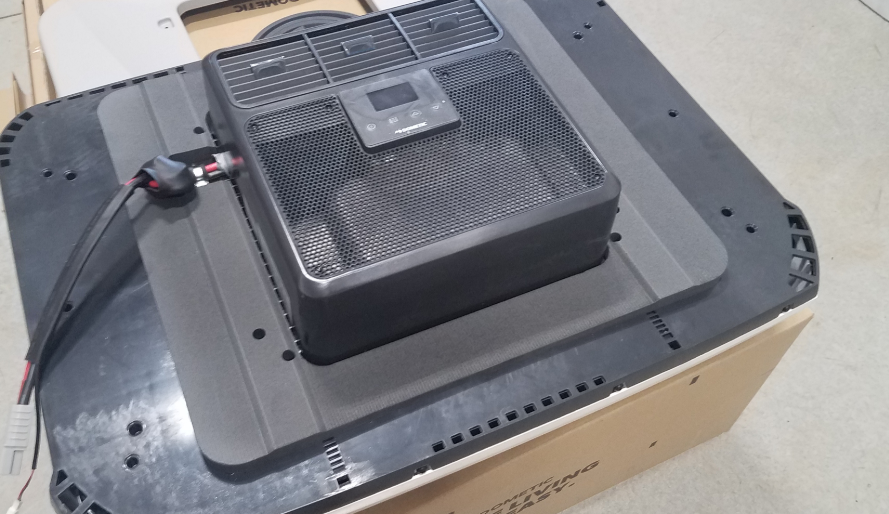
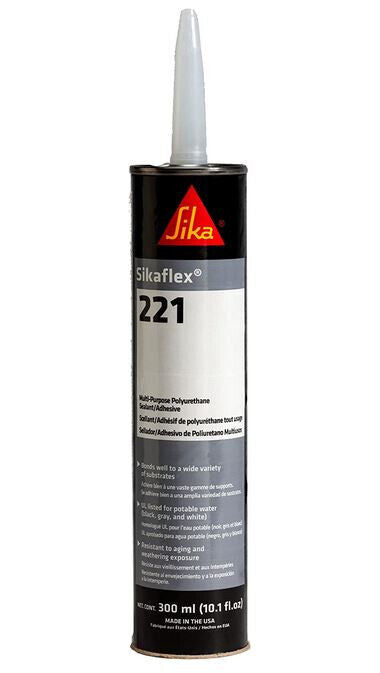
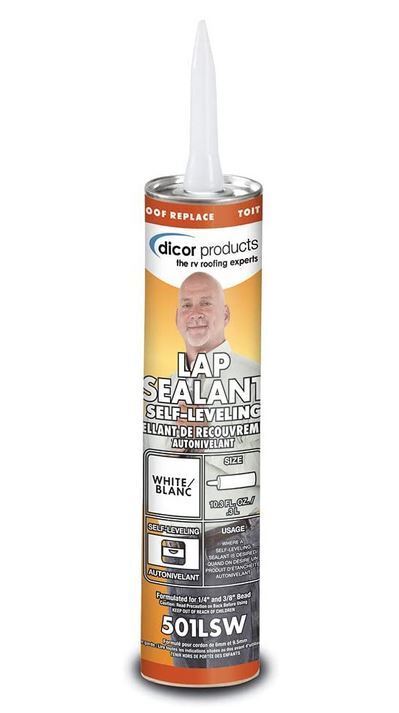
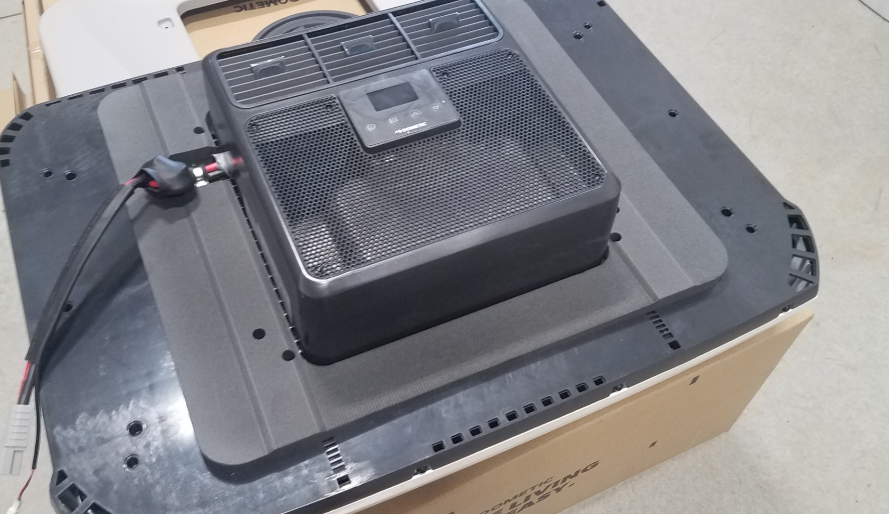
AC Adapter Install procedure: We recommend Sikaflex 221 or 3m Window-weld adhesive. Locate and cut the hole. You can use the adapter as a guide to mark the hole. Stay clear of roof supports, obviously. Make a tape line 1/4" beyond the adapter perimeter. De-gloss the area with a Scotch- brite pad. No need to scuff. Just dull the paint. Clean with isopropyl alcohol and let dry thoroughly. Blow dryer if it's wet and/or cold out. Apply a good amount of the Window-weld on the face of the adapter. Then press the adapter down onto the roof until the adhesive oozes out the sides. It's not necessary to clamp. If you do, use a lot of lightly set clamps and spread out the clamp force over the whole surface area. Using the adhesive that oozes out, make a fillet around the adapter with a double gloved finger. Pull the tape within 15 minutes. Cure is fast on outside. Let cure overnight and then proceed with the AC install per the AC instruction. Seal the adapter and onto the roof about 1/2" with Dicor self leveing sealant or Flexseal from the TV guy works well. Good idea to check the integrity and reapply the sealant every so often.
DISCLAIMER: Van owner and/or installer assumes all risk associated with roof top mounted items and/or components. Van owner and/or installer recognizes and agrees that this product, and each of its component parts, is sold “as is” and that seller makes no representation or warranty of merchantability that the product is fit for any particular purpose.
Van owner and/or installer assumes all risk associated with roof top mounted items and/or components. Van owner and/or installer recognizes and agrees that this product, and each of its component parts, is sold ?as is? and that seller makes no representation or warranty of merchantability that the product is fit for any particular purpose.
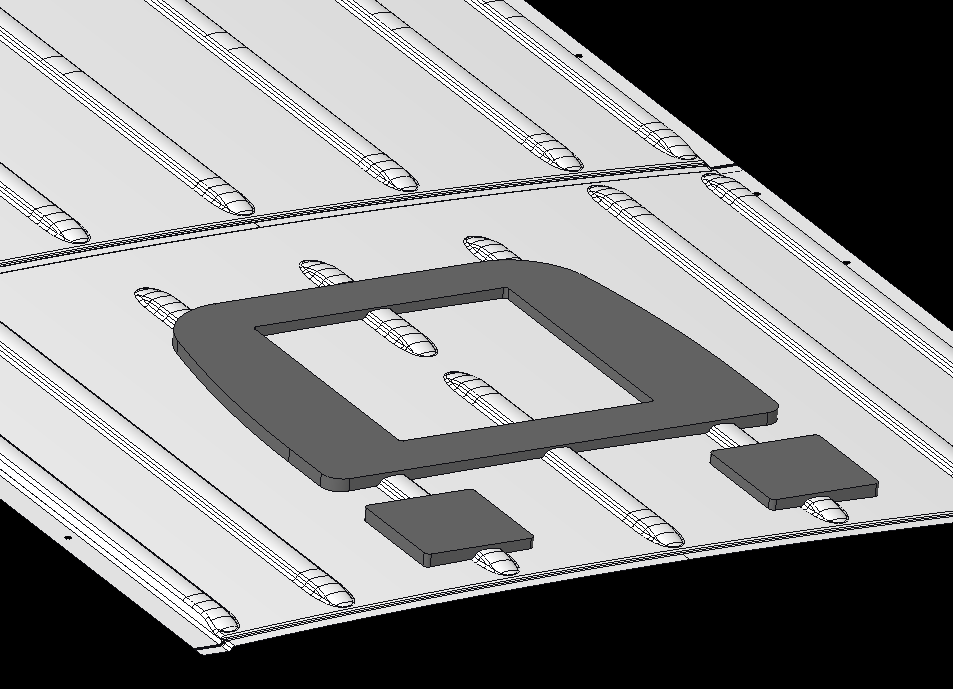
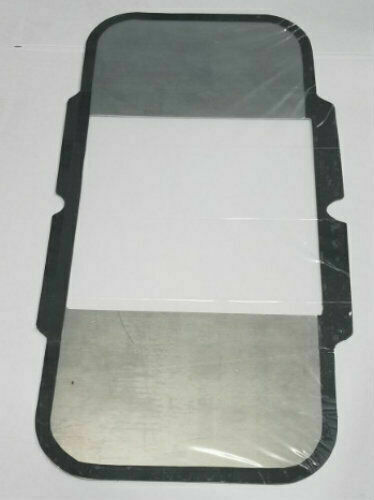
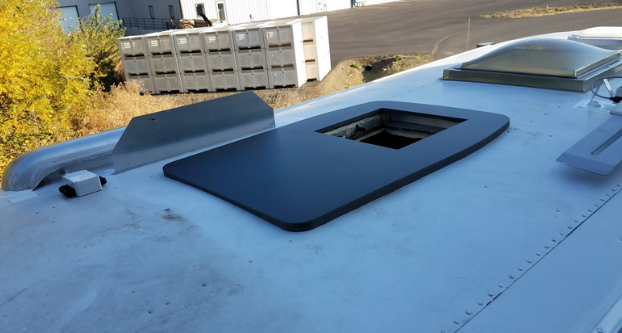
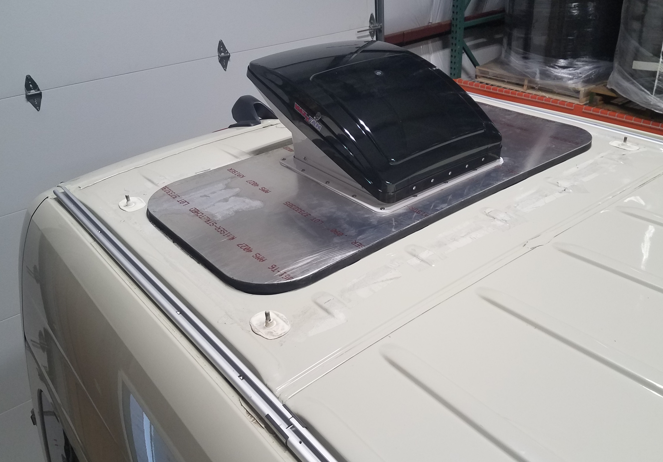
Aluminum plate for covering OEM AC hole and ports and installing RV vent in center. For Sprinter 2007 to 2018 with factory installed roof AC. Plates are .090 thick unfinished aluminum with VHB tape pre-applied for bonding to roof. Also includes 3 smaller plates for covering 3 ports. Prep surface of roof by cleaning and de glossing with isopropyl alcohol and scotch-brite pad. Apply VHB in warm conditions and use heat and pressure to set after installation. Seal perimeter edge of plates with 3M 4412N extreme sealant tape or Dicor self leveling sealant. If using tape work from rear edge forward so front pieces overlap rear pieces. Remove release film from top of tape so it can be laid around corners and next layer will stick. Recommend that plate and sealant can be painted to match vehicle. RV vent is mounted with butyl tape provided. 14x14" opening. OEM AC hole will need to be enlarged to 14 by trimming approximately 1/4" along front edge. This can be done after plate is installed.
The outside dimension of the plate is 15.25" x 32.5"
This Plate will NOT work on the VS30, please see this link. https://diyvan.com/collections/ac-adapters/products/sprinter-delete-plate
We also offer the AC Replacement Plate with no hole.
Please call Hein for technical support. 541 49O 5O98
Van owner and/or installer assumes all risk associated with roof top mounted items and/or components. Van owner and/or installer recognizes and agrees that this product, and each of its component parts, is sold “as is” and that seller makes no representation or warranty of merchantability that the product is fit for any particular purpose.
2) Please let us know what year and what wheel base you have: 144 WB, 170 Regular or 170 Extended.
AC Adapter Install procedure: We recommend Sikaflex 221 or 3m Window-weld adhesive. Locate and cut the hole. You can use the adapter as a guide to mark the hole. Stay clear of roof supports, obviously. Make a tape line 1/4" beyond the adapter perimeter. De-gloss the area with a Scotch- brite pad. No need to scuff. Just dull the paint. Clean with isopropyl alcohol and let dry thoroughly. Blow dryer if it's wet and/or cold out. Apply a good amount of the Window-weld on the face of the adapter. Then press the adapter down onto the roof until the adhesive oozes out the sides. It's not necessary to clamp. If you do, use a lot of lightly set clamps and spread out the clamp force over the whole surface area. Using the adhesive that oozes out, make a fillet around the adapter with a double gloved finger. Pull the tape within 15 minutes. Cure is fast on outside. Let cure overnight and then proceed with the AC install per the AC instruction. Seal the adapter and onto the roof about 1/2" with brush on bed-liner or Flexseal from the TV guy works well. Good idea to check the integrity and reapply the sealant every so often. Dicor self leveling sealant also works but looks a little messy.
DISCLAIMER:
Van owner and/or installer assumes all risk associated with roof top mounted items and/or components. Van owner and/or installer recognizes and agrees that this product, and each of its component parts, is sold "as is" and that seller makes no representation or warranty of merchantability that the product is fit for any particular purpose.