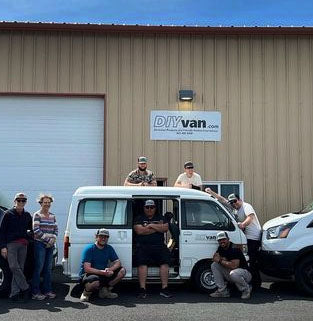
Exclusive products and
friendly, professional advice.
Exclusive products and
friendly, professional advice.
friendly, professional advice.

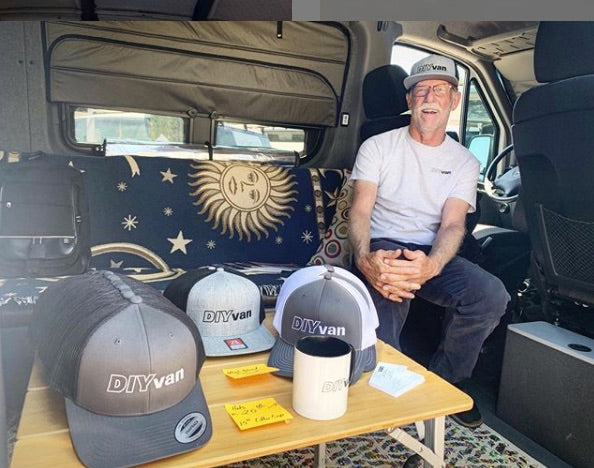
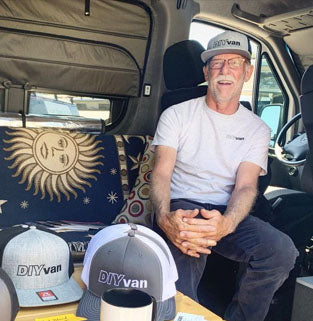
You want a build that will last as long as your van. We did too. That's why we stand behind every product we sell.

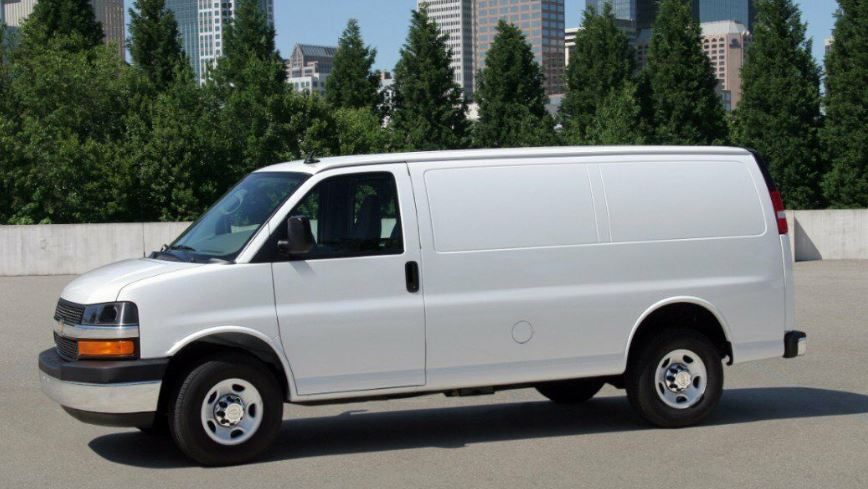
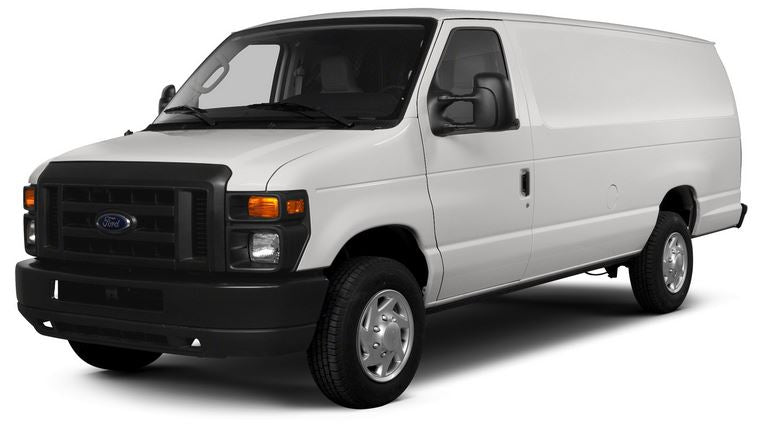
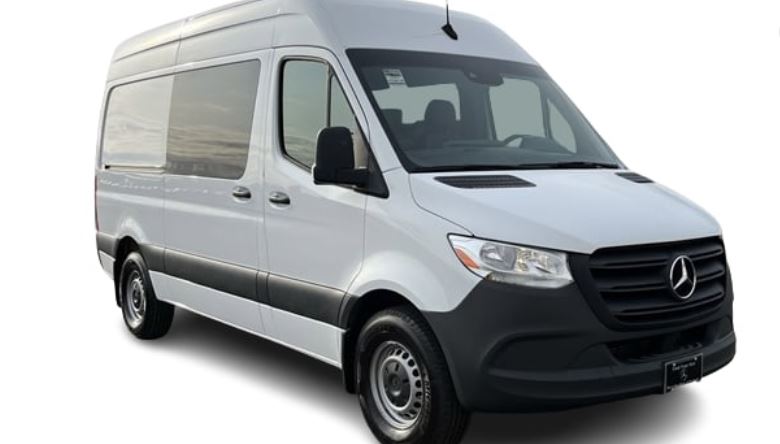
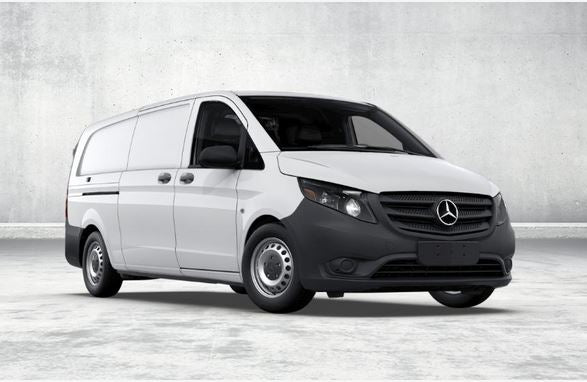
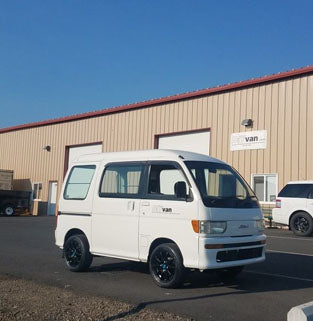
We’ve built three camper vans for our family. A 2010 Mercedes Sprinter, 2016 Ford Transit 130MR and a 2016 Dodge ProMaster 136HR.

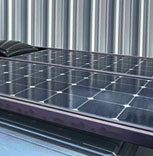
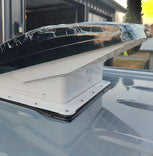
We love sharing our experiences. Please ask us about any phase of your van project from suspension to solar panels.

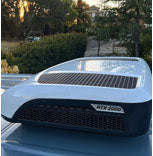
Products & Tools
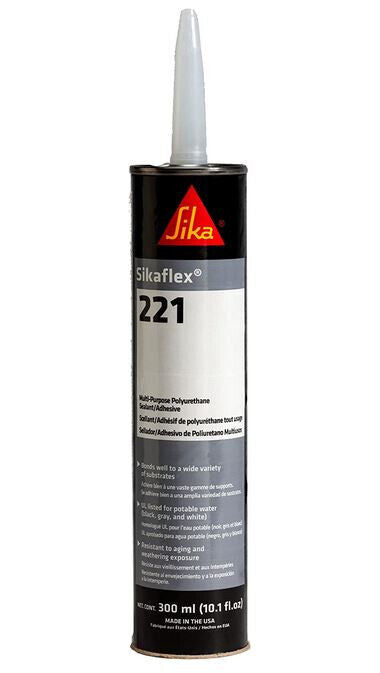
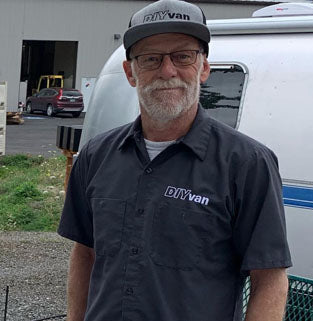
Wondering which dehumidifier, subwoofer, glue, coffee maker or even scissors is best for your build? Hein has done the research and testing so you don't have to guess.
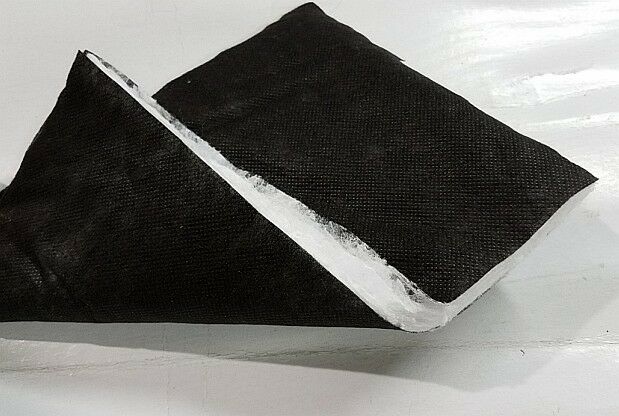
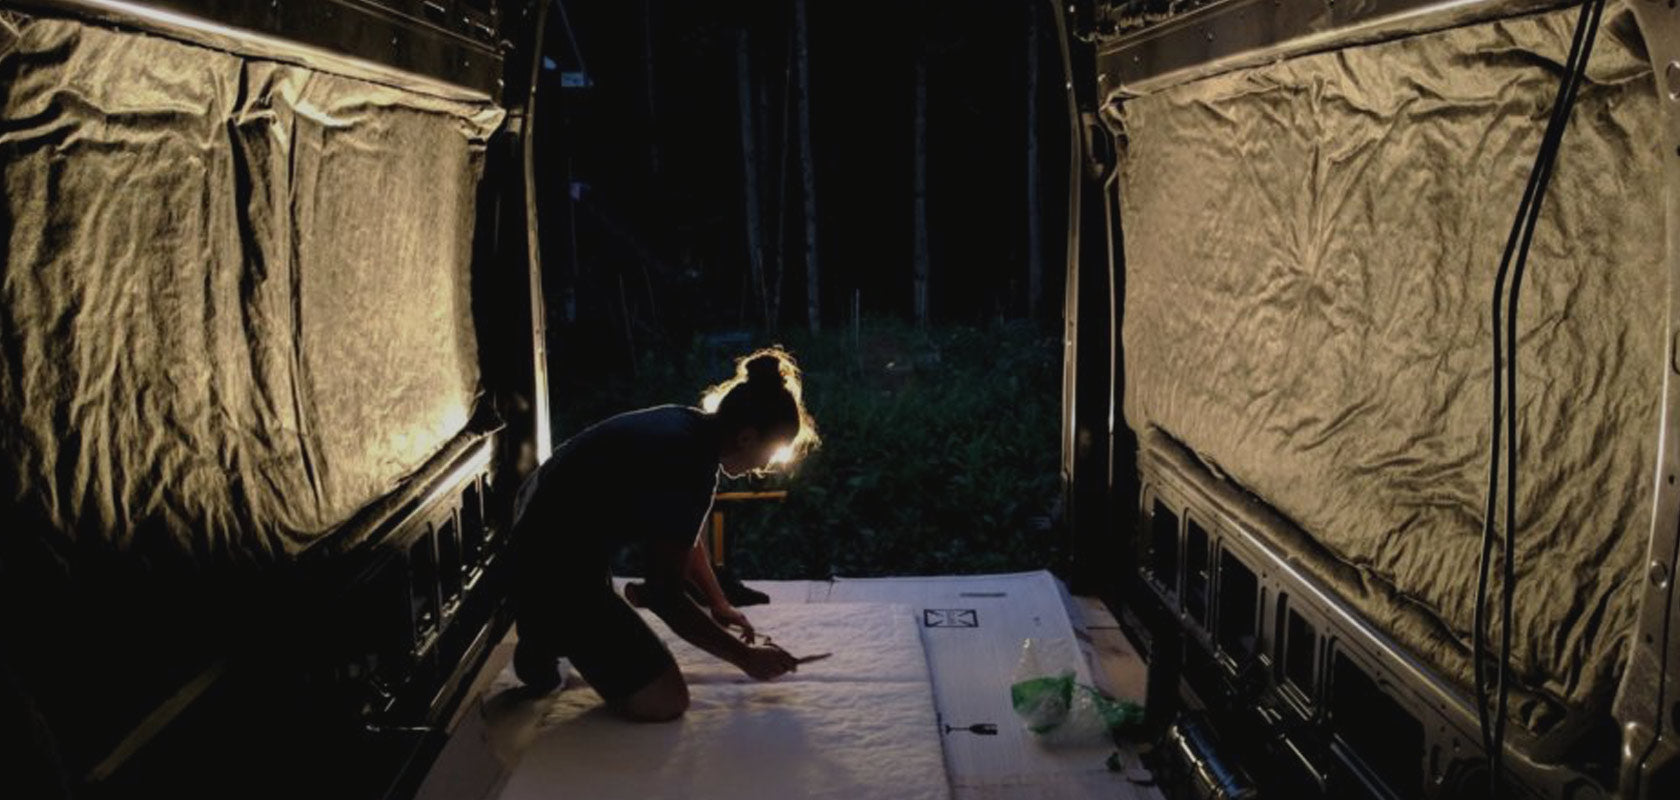
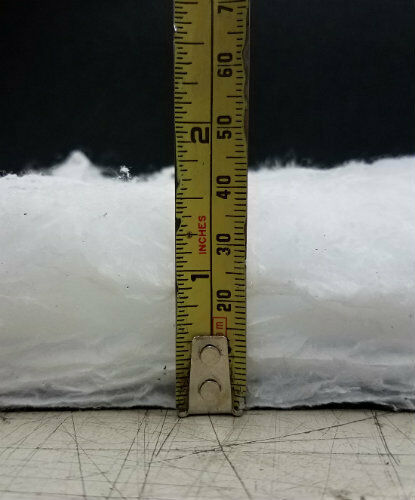
Quality, durability and safety. Learn more about why you should choose
Thinsulate for your van build here.
Click the icons below to check in on some of our favorite van builders. See which DIYvan products they have used and why they chose them!


Hein and Kim have been such a great resource as we build out our van! Love their products and ideas for ways to save space in our layout. Thank you for answering so many of our questions and for encouraging us to press on even when the electrical is confusing. I highly recommend working with them.

Hein and Kim have been such a great resource as we build out our van! Love their products and ideas for ways to save space in our layout. Thank you for answering so many of our questions and for encouraging us to press on even when the electrical is confusing. I highly recommend working with them.
Hein and Kim have been such a great resource as we build out our van! Love their products and ideas for ways to save space in our layout. Thank you for answering so many of our questions and for encouraging us to press on even when the electrical is confusing. I highly recommend working with them.
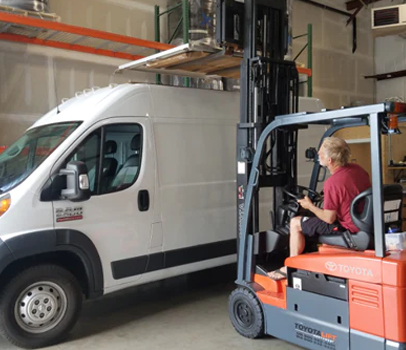
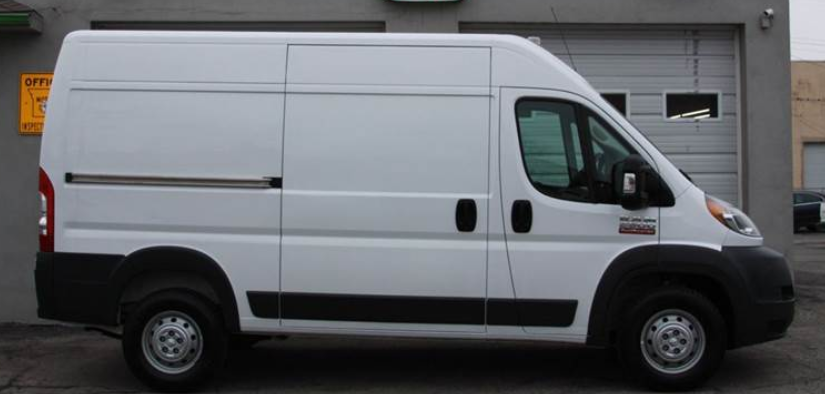
Hein & Kim's most recent build is a 2017 Dodge ProMaster they bought specifically for DIYvan product R&D. Learn more about this build on Hein's forum on ProMaster Forum.
Check it Out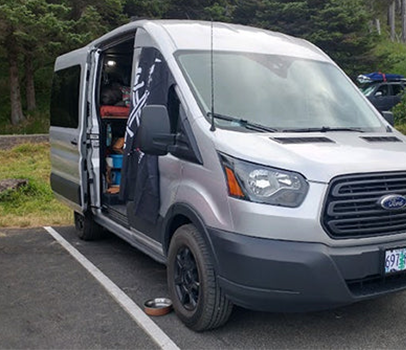
Hein & Kim's second build was a 2016 Ford Transit they began converting in 2016. Follow their journey from choosing their van to completion on Hein's forum on Ford Transit USA Forum.
See the build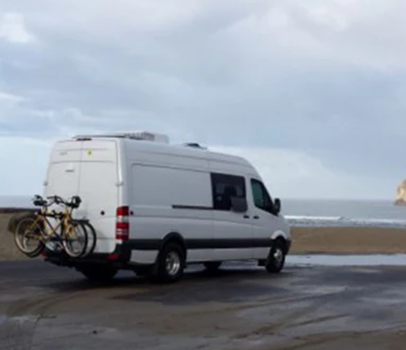
In 2012, Hein & Kim converted their first van- a 2010 Mercedes Sprinter van. They wanted to convert the Sprinter van into a fully equipped RV while discovering and developing products to offer to fellow DIY van upfitters. Read all about their first van conversion on Hein's forum on The Sprinter Source Sprinter Forum.
Learn more
Custom Roof Rack Inquiries
Custom Adapter Inquiries
Custom Product Inquiries
It is our pleasure to share our engineering and fabrication knowledge and experience to help you complete your build and enjoy your van in comfort, safety and efficient style. Please contact us with questions about any phase of your van project from suspension to solar panels
and everything in between.
Read moreOn All Products!