-
- 3M Thinsulate™
- 80/20
- Air Conditioner Units
- Air Conditioner Adapters
- Awning Brackets
- Battery
- Battery Accessories
- DIYvan Apparel
- Electrical
- Favorite Products
- Flooring
- Insulation / Noise Control
- Inverter/Charger
- Low-E™ Reflective Insulation
- Minicell & Floor Installation
- NEW!
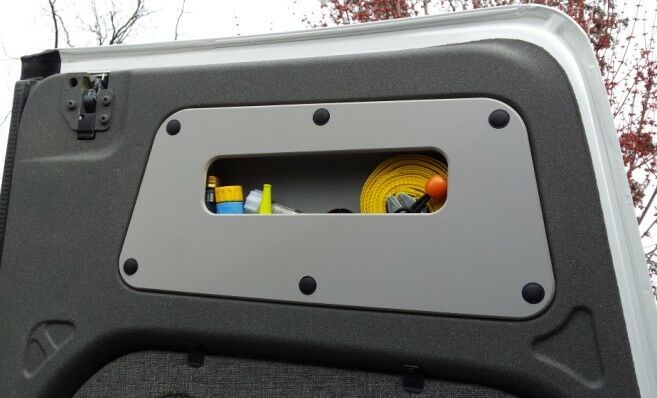
- Panel for Doors, Walls & More
- Roof Vent Adapters
- Roof Vent Units
- Rack Systems
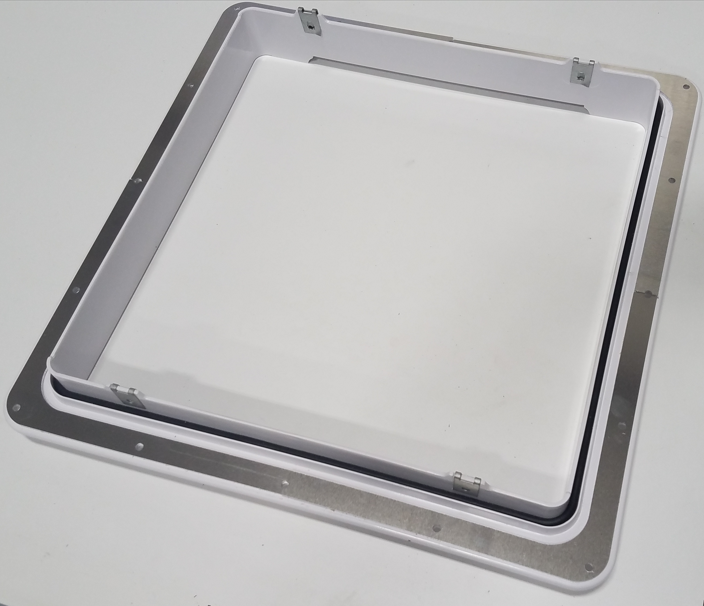
- Skylights
- Solar Mounting
- Solar Panels
- Speakers & Speaker Installation
- Switch Adapters
- Swivel Seat Bases
- Our Story
- Log in
-
Shop
- Insulation / Noise Control
-
Shop by Product Type
- 3M Thinsulate™
- 80/20
- Air Conditioner Units
- Air Conditioner Adapters
- Awning Brackets
- Battery
- Battery Accessories
- DIYvan Apparel
- Electrical
- Favorite Products
- Flooring
- Insulation / Noise Control
- Inverter/Charger
- Low-E™ Reflective Insulation
- Minicell & Floor Installation
- NEW!
- Panel for Doors, Walls & More
- Roof Vent Adapters
- Roof Vent Units
- Rack Systems
- Skylights
- Solar Mounting
- Solar Panels
- Speakers & Speaker Installation
- Switch Adapters
- Swivel Seat Bases
- Altro Floor Covering
- Airstream Trailer Products
- Ford S650 Mustang
- Gift Card
- Our Story