Patent Pending adapter matches the contour of the OEM roof so a hatch mounts to a flat surface. Prevents distorting the roof sheet metal and can be used as an aid for locating the hatch. They are CNC machined out of UV and fire resistant expanded PVC.
The positions we have listed are determined by measuring from the center of the plug to the back edge of the hole you will cut (find the photo in the main photos). Please do not cut the hole before you have the adapter.
If you are ordering a hatch with an interior trim kit we will need to know this information.
If you see that the one you would like to order is unavailable it is because we have not made it for that particular position. Please email Kim to order it. kim@diyvan.com.
We can also make other adapters for other hatches and positions. If you do not see one listed please contact Kim or message us. 541-49O-4292
Adapter Install procedure: We recommend Sikaflex 221 or 3m Window-weld adhesive. Locate and cut the hole. You can use the adapter as a guide to mark the hole. Stay clear of roof supports, obviously. Make a tape line 1/4" beyond the adapter perimeter. De-gloss the area with a Scotch- brite pad. No need to scuff. Just dull the paint. Clean with isopropyl alcohol and let dry thoroughly. Blow dryer if it's wet and/or cold out. Apply a good amount of the Window-weld on the face of the adapter. Then press the adapter down onto the roof until the adhesive oozes out the sides. It's not necessary to clamp. If you do, use a lot of lightly set clamps and spread out the clamp force over the whole surface area. Using the adhesive that oozes out, make a fillet around the adapter with a double gloved finger. Pull the tape within 15 minutes. Cure is fast on outside. Let cure overnight and then proceed with the hatch install per the hatch instruction. Seal the adapter and onto the roof about 1/2" with brush on bed-liner or Flexseal from the TV guy works well. Good idea to check the integrity and reapply the sealant every so often. Dicor self leveling sealant also works but looks a little messy.
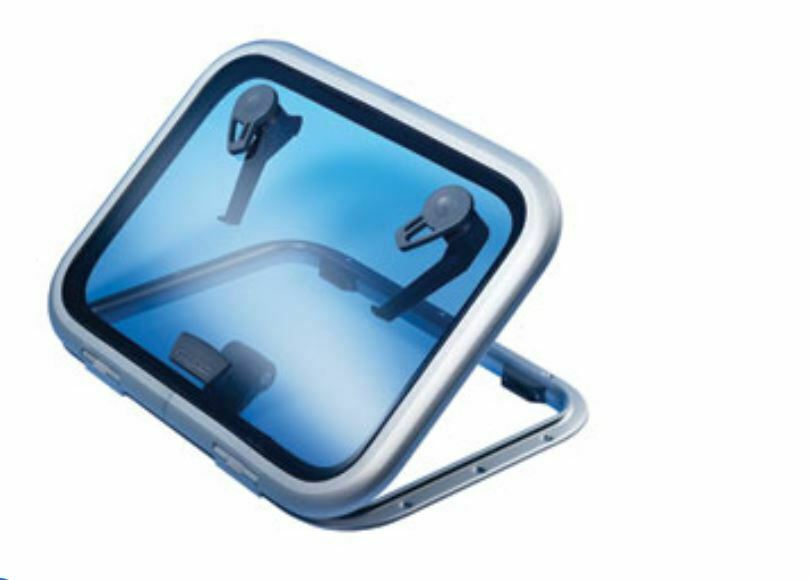
Hatch is not included.
DISCLAIMER: Owner and/or installer assumes all risks associated with products and/or components purchased from DIYvan. Owner and/or installer recognizes and agrees that this product, and any of its component parts, is sold “as is” and that DIYvan makes no representation or warranty of merchantability that the product is fit for any particular purpose.