Newest Products
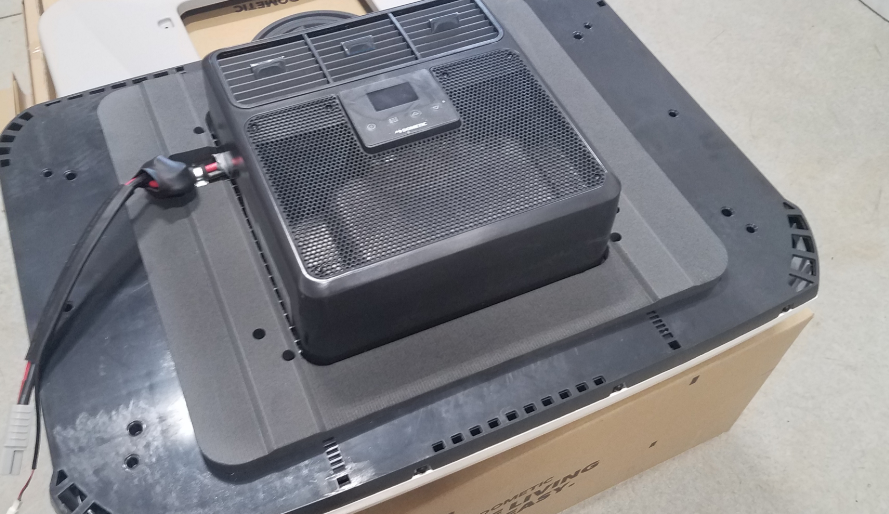
The RTX 2000 head unit only. Please select one of the installation kits to use with the unit.
Exterior dimensions: 25.4″ long x 33.9″ wide x 6.6″ tall.
Interior dimensions: 13.9″ long x 14.4″ wide x 5.5″ tall.
**For LTL Freight deliveries, please inspect the entire package and product before the driver leaves. If you find damage, take pictures and make sure the driver notes the damage on the BOL. If damage is found after the driver leaves, we have no recourse with the carrier, and thus, no path to a credit.**
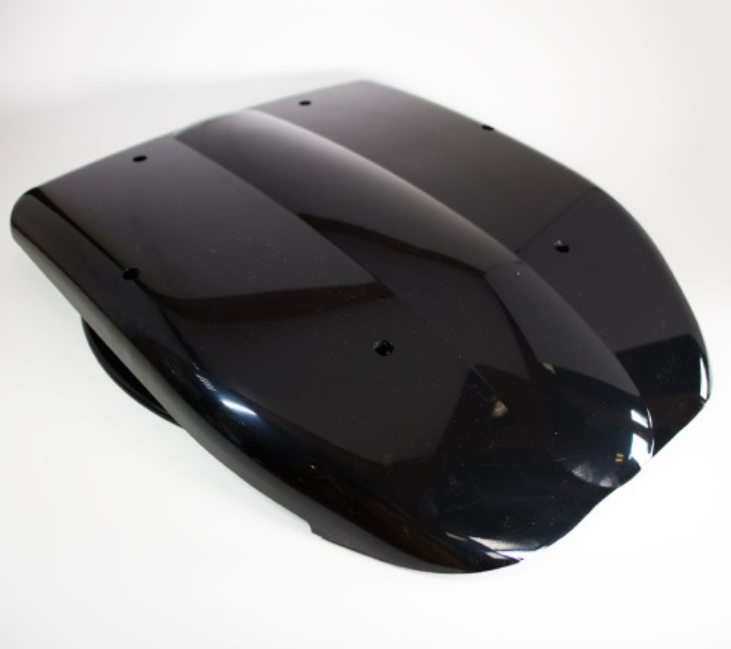
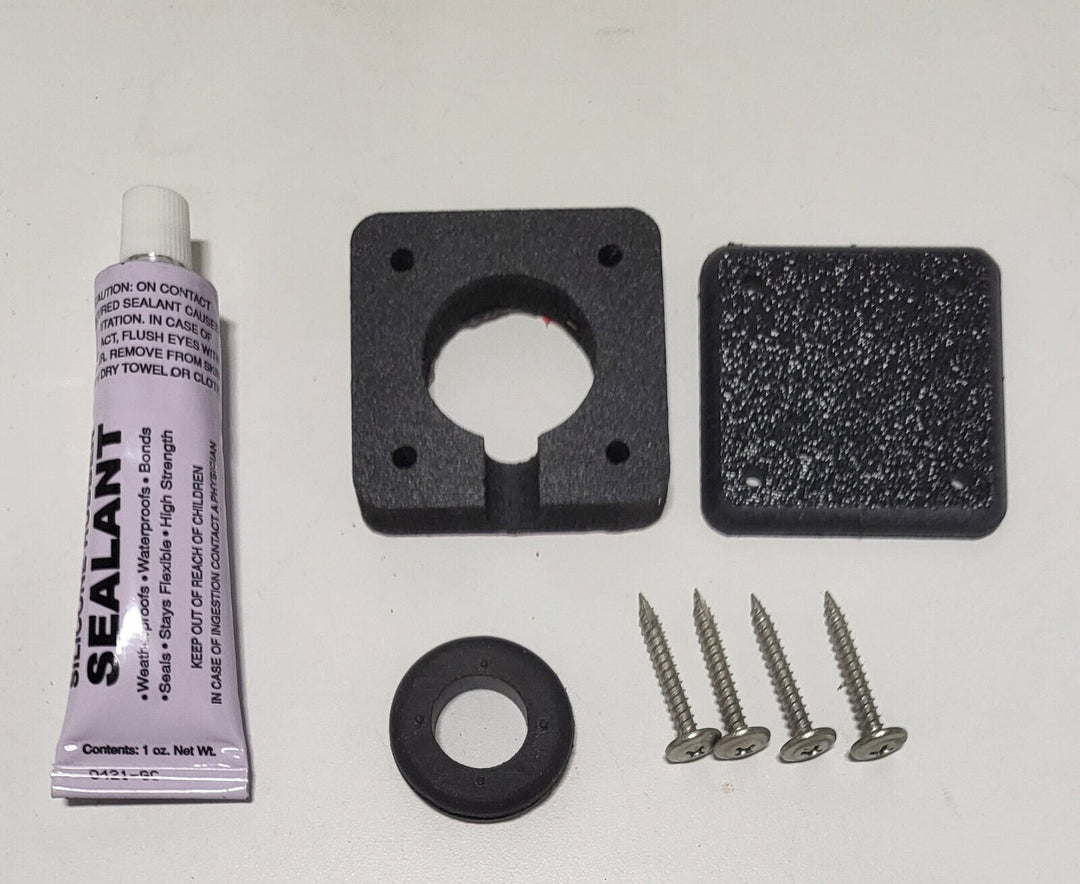
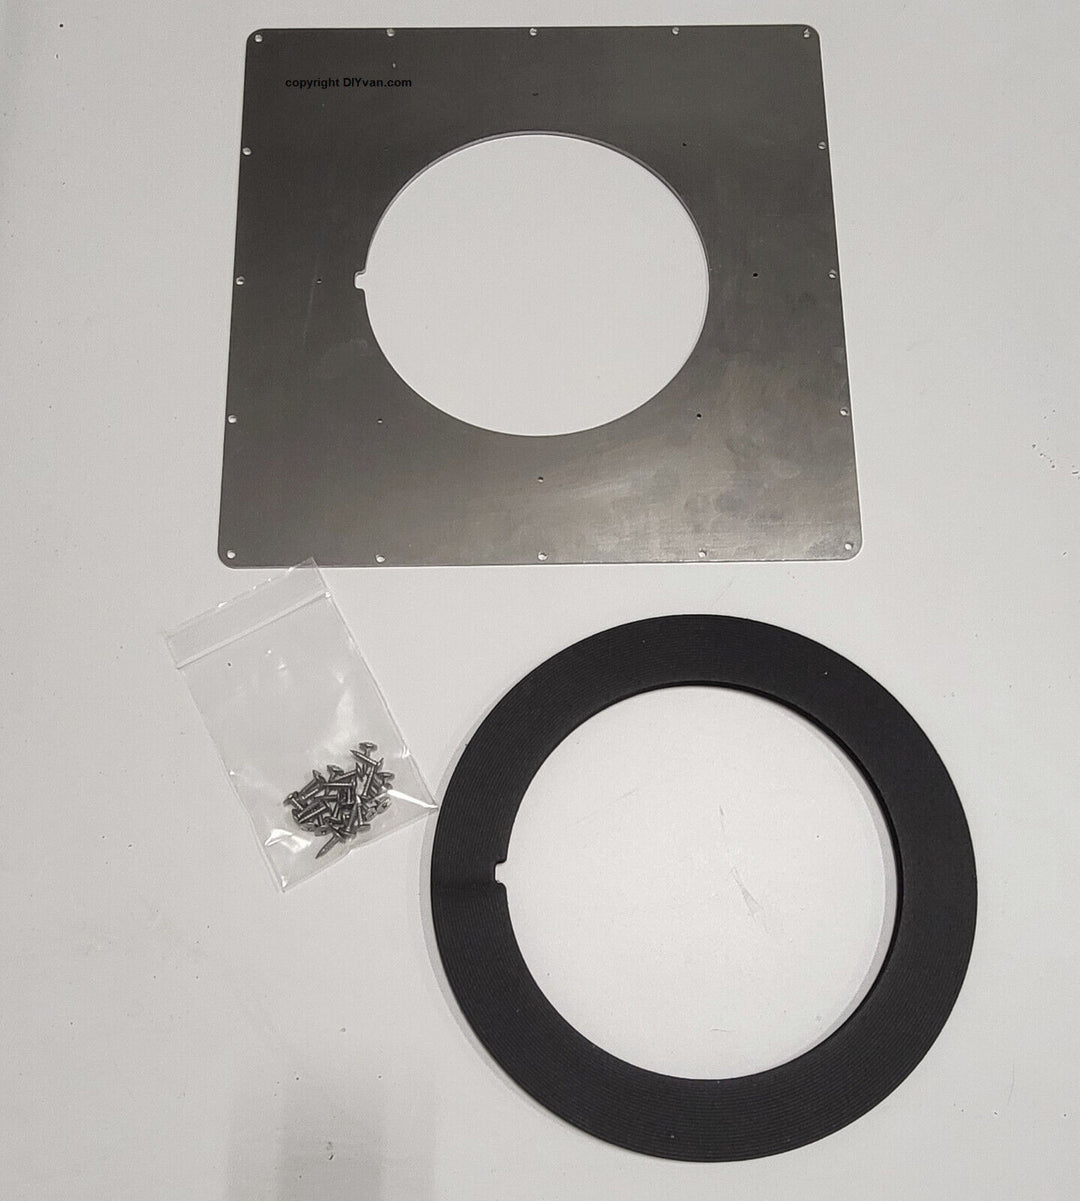
Shop our Patent Pending AC roof adapters, seal and interior bezel to make the install easier.
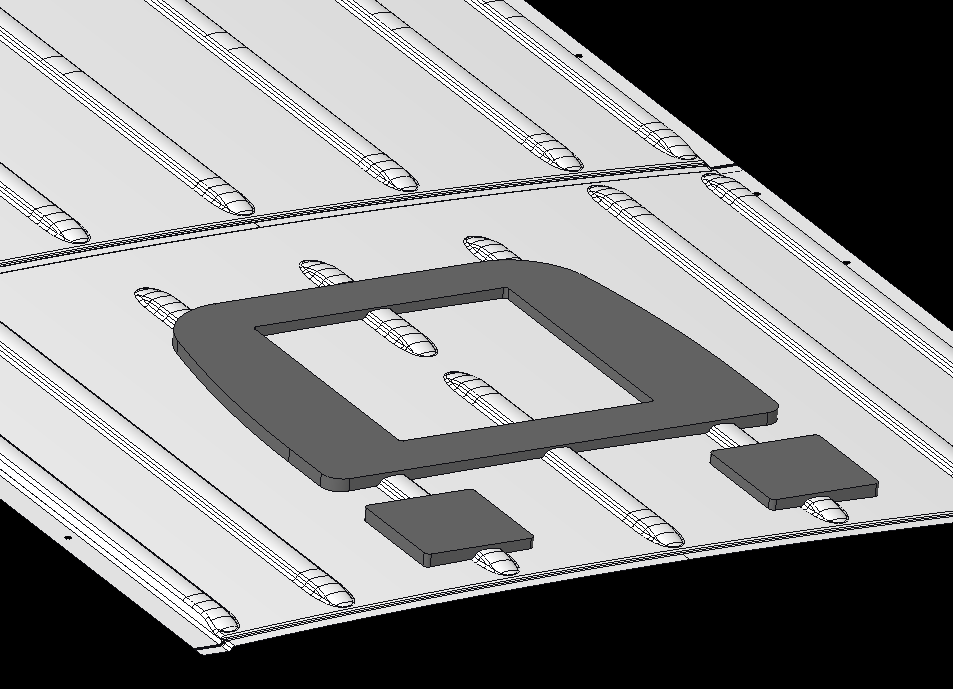
The AC unit will not come with internal framing support. We highly recommend getting our framing.
Promaster rtx internal framing
IMPORTANT!! If you are ordering the DIYvan install kit please watch Hein's Video on how to install the inserts.
Compact size leaves more space for solar panels and other things on your van’s roof.
Only uses 19 amps of energy in eco mode – power consumption ranges between 10 amps to 58 amps.
Recommended to be used with a battery bank of 180 amp hours or larger.
Suitable for ambient temperatures between 41 and 126 degrees Fahrenheit.
Includes remote control.
This unit is AC only, there is no “fan only” mode for recirculating air.
One year manufacturer warranty.
The opening size is 15 1/2 by 14 1/8.
You will need the installation kit, with or without wire, if ordering this unit. M8 rods are 4 3/4" long.
DISCLAIMER:
Van owner and/or installer assumes all risk associated with roof top mounted items and/or components. Van owner and/or installer recognizes and agrees that this product, and each of its component parts, is sold “as is” and that seller makes no representation or warranty of merchantability that the product is fit for any particular purpose.
-
Roof vent with fan moves air in and out of your RV, camper, or enclosed trailer
- Vent allows air to circulate while your RV remains locked and secure
-
Integrated rain shield prevents rainwater from entering your RV or trailer
- Allows you to open the vent and operate the fan in any weather
- Eliminates the need to install a separate vent cover
-
12V DC, variable-speed fan has 2 modes of operation
- In manual mode, 10 speed options let you increase or reduce airflow
- In auto mode, fan turns on and off based on preset temperature of thermostat
-
Reversible fan can either bring air in or exhaust air out
- Circulates air like a ceiling fan when the vent is closed
- Flush-mounted keypad on vent lets you to set the thermostat and the fan speed and direction
-
Smoke or White dome (or lid) is made of high-density polyethylene
- Seamless, low-profile appearance when closed
-
Manual lift design has 2 arms to support the dome and keep it open
- Manual knob lets you operate dome
- Bug screen keeps insects out and is easy to remove for cleaning or maintenance
- Fuse-protected, ball bearing motor is sealed to keep out dust, dirt, and moisture
- Rubber weather seal helps prevent leaks when vent is closed
-
Mounting flange is constructed of UV-resistant ABS plastic
- Smooth edges won't cut you during installation
-
White interior trim piece (or garnish), insulated electrical connectors, and hardware are included for installation
- Roof sealant sold separately
-
2-Wire design
- Black wire is power
- White wire is ground
See our vent adapters to make installing the fan easier.
Van owner and/or installer assumes all risk associated with roof top mounted items and/or components. Van owner and/or installer recognizes and agrees that this product, and each of its component parts, is sold “as is” and that seller makes no representation or warranty of merchantability that the product is fit for any particular purpose.
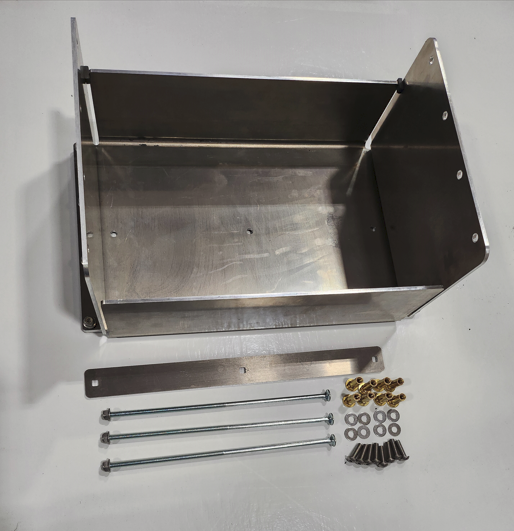
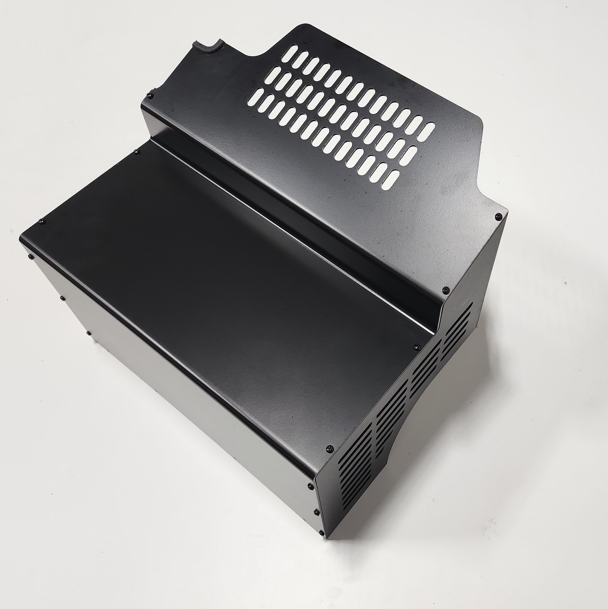
BATTERY BOXES are Powder Coated!
If you have questions about this product you can call Hein at 541-490-5098 or text him.
Van owner and/or installer assumes all risk associated with roof top mounted items and/or components. Van owner and/or installer recognizes and agrees that this product, and each of its component parts, is sold ?as is? and that seller makes no representation or warranty of merchantability that the product is fit for any particular purpose.
One pair. Plate with inserts and hardware only, This does not include the Fiamma Bracket.
Peel and stick plate for attaching Fiamma leg bracket to side of vehicle. These ABS plates have 3M VHB tape for attaching to vehicle and 2 brass threaded inserts for attaching Fiamma leg brackets. Eliminates the need to drill holes in the vehicle. ABS plastic plates can be heated with a heat gun to conform to modestly curved surfaces. Locate and mark, Gently heat for 2-3 minutes from top until plastic becomes a little soft. Remove VHB backing and gently press against side of vehicle. Be sure of placement as VHB sticks on contact and can not be easily removed. Allow 24 hours cure before using leg bracket.
Note: you may have to drill the holes out a little on the fiamma bracket.
Disclaimer
Van owner and/or installer assumes all risk associated with roof top mounted items and/or components. Van owner and/or installer recognizes and agrees that this product, and each of its component parts, is sold "as is" and that seller makes no representation or warranty of merchantability that the product is fit for any particular purpose.
DO NOT USE WITH ENGINE RUNNING DUE TO RISK OF EXHAUST GASES ENTERING THE VEHICLE.
Color of the adapter may be different that what is shown in the photo.
Roof Vent Adapter Install Tips
We recommend Sikaflex 221. Locate and cut the 14 x 14 hole. You can use the adapter as a guide to mark the hole. Stay clear of roof support beams.
Make a tape line 1/4" beyond the adapter perimeter.
De-gloss the area with a Scotch-brite pad. No need to scuff, just dull the paint. Clean with isopropyl alcohol and let dry thoroughly. Blow dryer if it's wet and/or cold out.
Apply three 1/8" beads of the Sikaflex on the face of the adapter. Then, press the adapter down onto the roof until the adhesive oozes out the sides. It's not necessary to clamp. If you do, use several lightly set clamps and spread out the clamp force over the whole surface area.
Using the adhesive that oozes out, make a fillet around the adapter with a double gloved finger. Pull the tape within 15 minutes. Cure is fast on outside. Let cure overnight and then proceed with the fan install.
If you purchased our Interior Framing Strips, using the hole that you cut locate where the transverse strips need to be placed on the longitudinal strips. Assemble the interior frame with the 2" screws provided. Once the frame is assembled it will be glued to the interior side of the roof using Sikaflex 221. If the strips ordered are not bay specific, then you may need to cut them to the length of the panel you are installing it in.
We recommend using butyl tape for the fan install. Cover the fan flange with 1" wide tape. Place the flange onto the adapter and press down. Then drill pilot holes through the adapter and into the van roof. You may need the 4 longer screws provided for the corners. Tighten all screws very lightly against the fan flange. Some butyl will ooze out which you can trim off.
Coat the fan flange, adapter and onto the roof about 1/2" with self-leveling Dicor or brush-on Flexseal. Some sealants will melt the fan plastic so you might try it on a portion of the interior bezel first. You will cut a lot of that piece off.
Good idea to check the integrity and reapply the sealant every so often.
**Please note, if you purchased butyl tape with this order and the butyl tape is stuck to the plastic, place it in the freezer for 15 or 20 min. It will release, then let it return to room temperature.
Disclaimer:
Van owner and/or installer assumes all risk associated with roof top mounted items and/or components. Van owner and/or installer recognizes and agrees that this product, and each of its component parts, is sold "as is" and that seller makes no representation or warranty of merchantability that the product is fit for any particular purpose.
Van owner and/or installer assumes all risk associated with roof top mounted items and/or components. Van owner and/or installer recognizes and agrees that this product, and each of its component parts, is sold ?as is? and that seller makes no representation or warranty of merchantability that the product is fit for any particular purpose.
Roof fan 12 Volt Winglet
This electric fan from G&C ensures a healthy discharge of air in your automobile.
This roof fan only extracts!
The roof fan is made of ABS. The voltage is 12 Volts and the consumption is 3 Watts.
The noise level is 32 DB. The airflow is 65 M³/H. The fan comes standard with an interior grill, shutter and saw template.
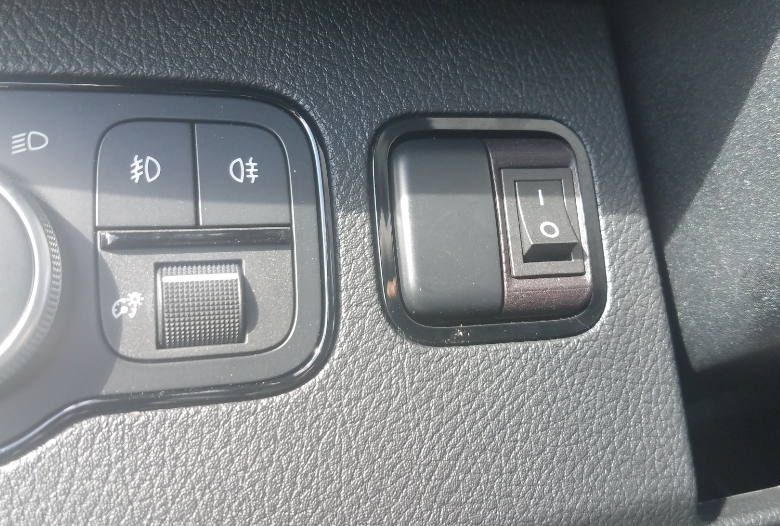
By using the 2-way switch you can turn this fan on and off, not included.
The opening in the roof is 80 mm. Construction height is 64 mm.
The fan is available in black.
* material: high quality ABS
* Function: extract air
* Opening in roof: 80 mm
* Construction height: 64 mm
* air displacement: 65 M³ per hour
Van owner and/or installer assumes all risk associated with roof top mounted items and/or components. Van owner and/or installer recognizes and agrees that this product, and each of its component parts, is sold ?as is? and that seller makes no representation or warranty of merchantability that the product is fit for any particular purpose.
Lower Wall Panels for Ford Transit 148 regular length. Fits High, Mid and Low roof vans. See separate listings for 130 short wheel base or extended van.
Wall panels are precision CNC machined based OEM CAD data. Automotive grade standard removable push pins are included to attach the panels to OEM holes. No drilling or screws or new holes required. Panels can be removed for service. Surface of panel is counter-bored for head of push pin which greatly improves appearance. Very much an OEM look. The push pins are black but could be DIY painted to match panel colors.
Plastic lower wall panels are a great easy install option for your build. Then finish out with your preferred look on the upper panels and headliner. Expanded PVC (Celtec) is light but a bit more prone to scratching. Kydex panels offer maximum durability. Individual panels can be replaced if needed. Longer push pins or alternate attachment method would be needed if upholstery is applied.
Panels are all solid. We can cut openings for our wall insert boxes and sub panels in the forward driver's side panel. Please reach out so we can coordinate which openings are needed. These options are not listed.
Wall Insert Panel with Built in Box
Also available for local pickup. Please call Kim to arrange prior to ordering. 541-49O-4292
If you have questions about this product you can call or text (preferred) Hein at 541-49O-5O98